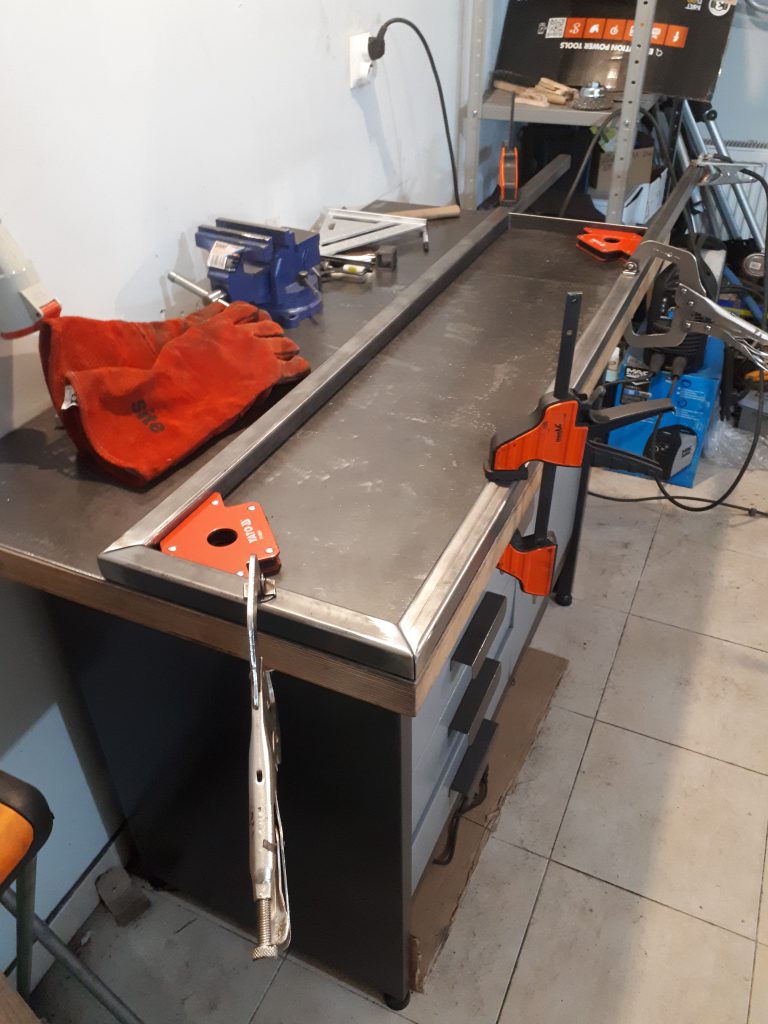
Firstly I removed the mill scale, cleaned all the steel parts, and cut the ends of the square tubes at a 45° angle.
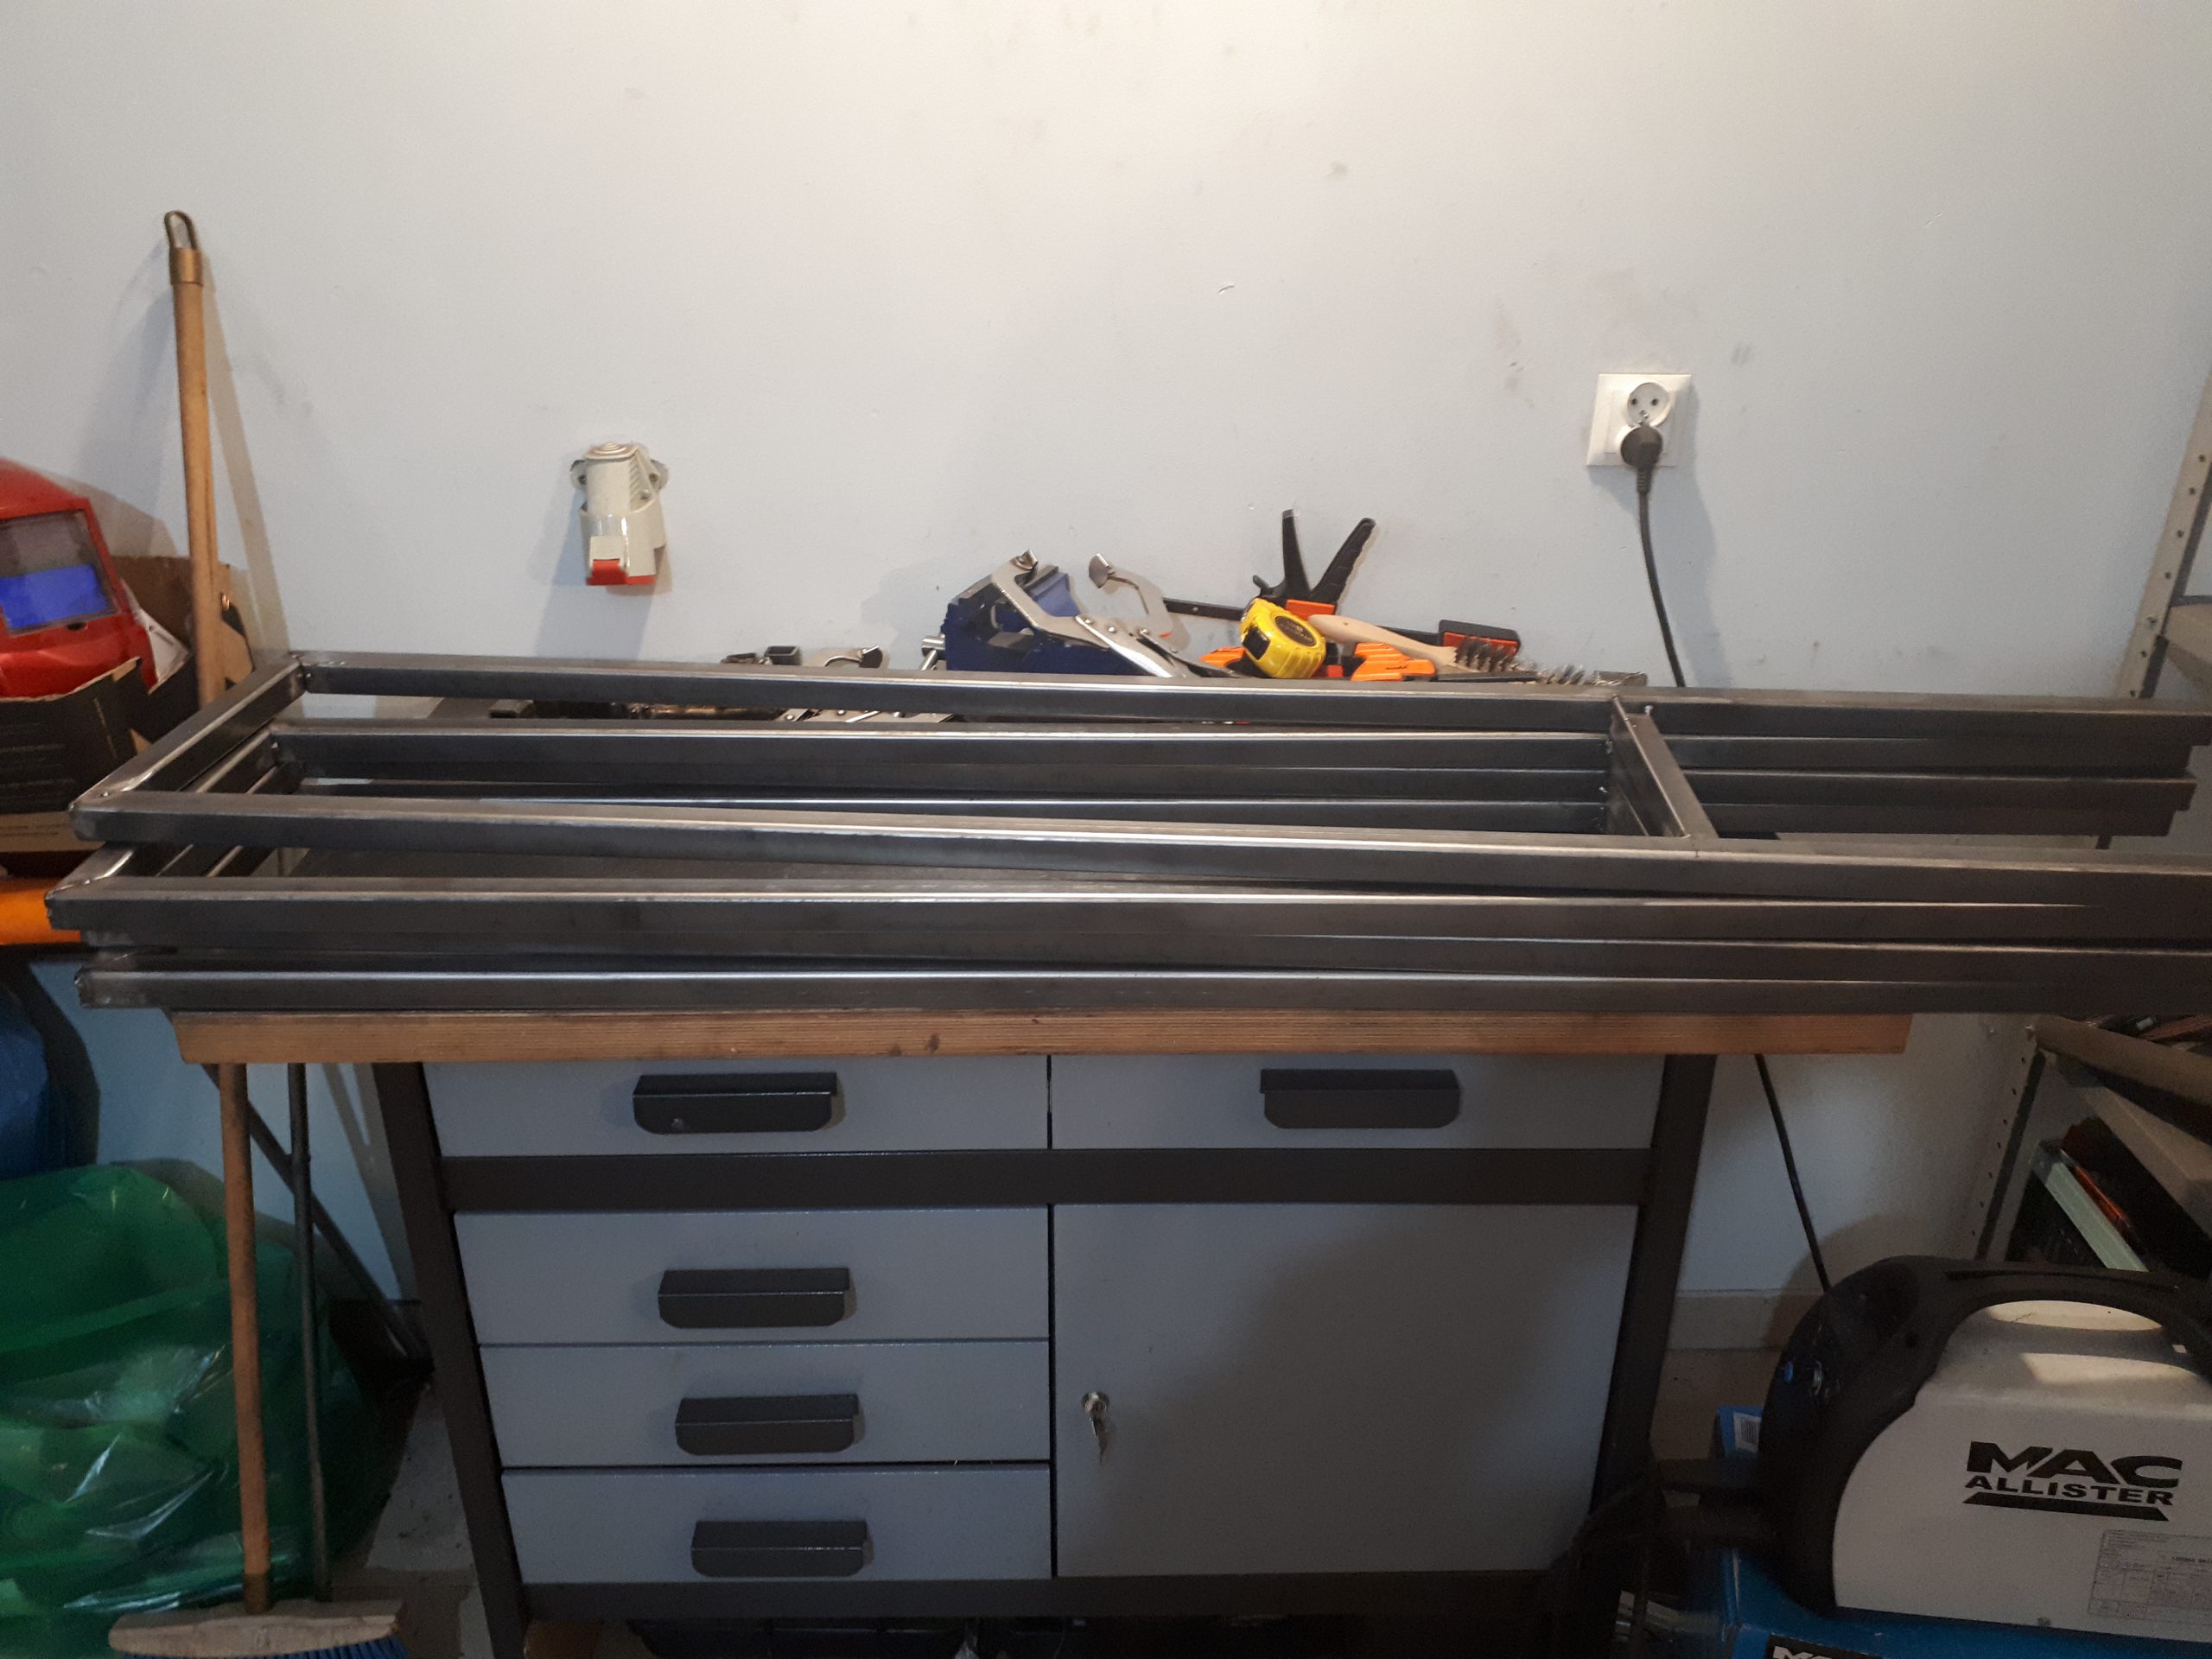
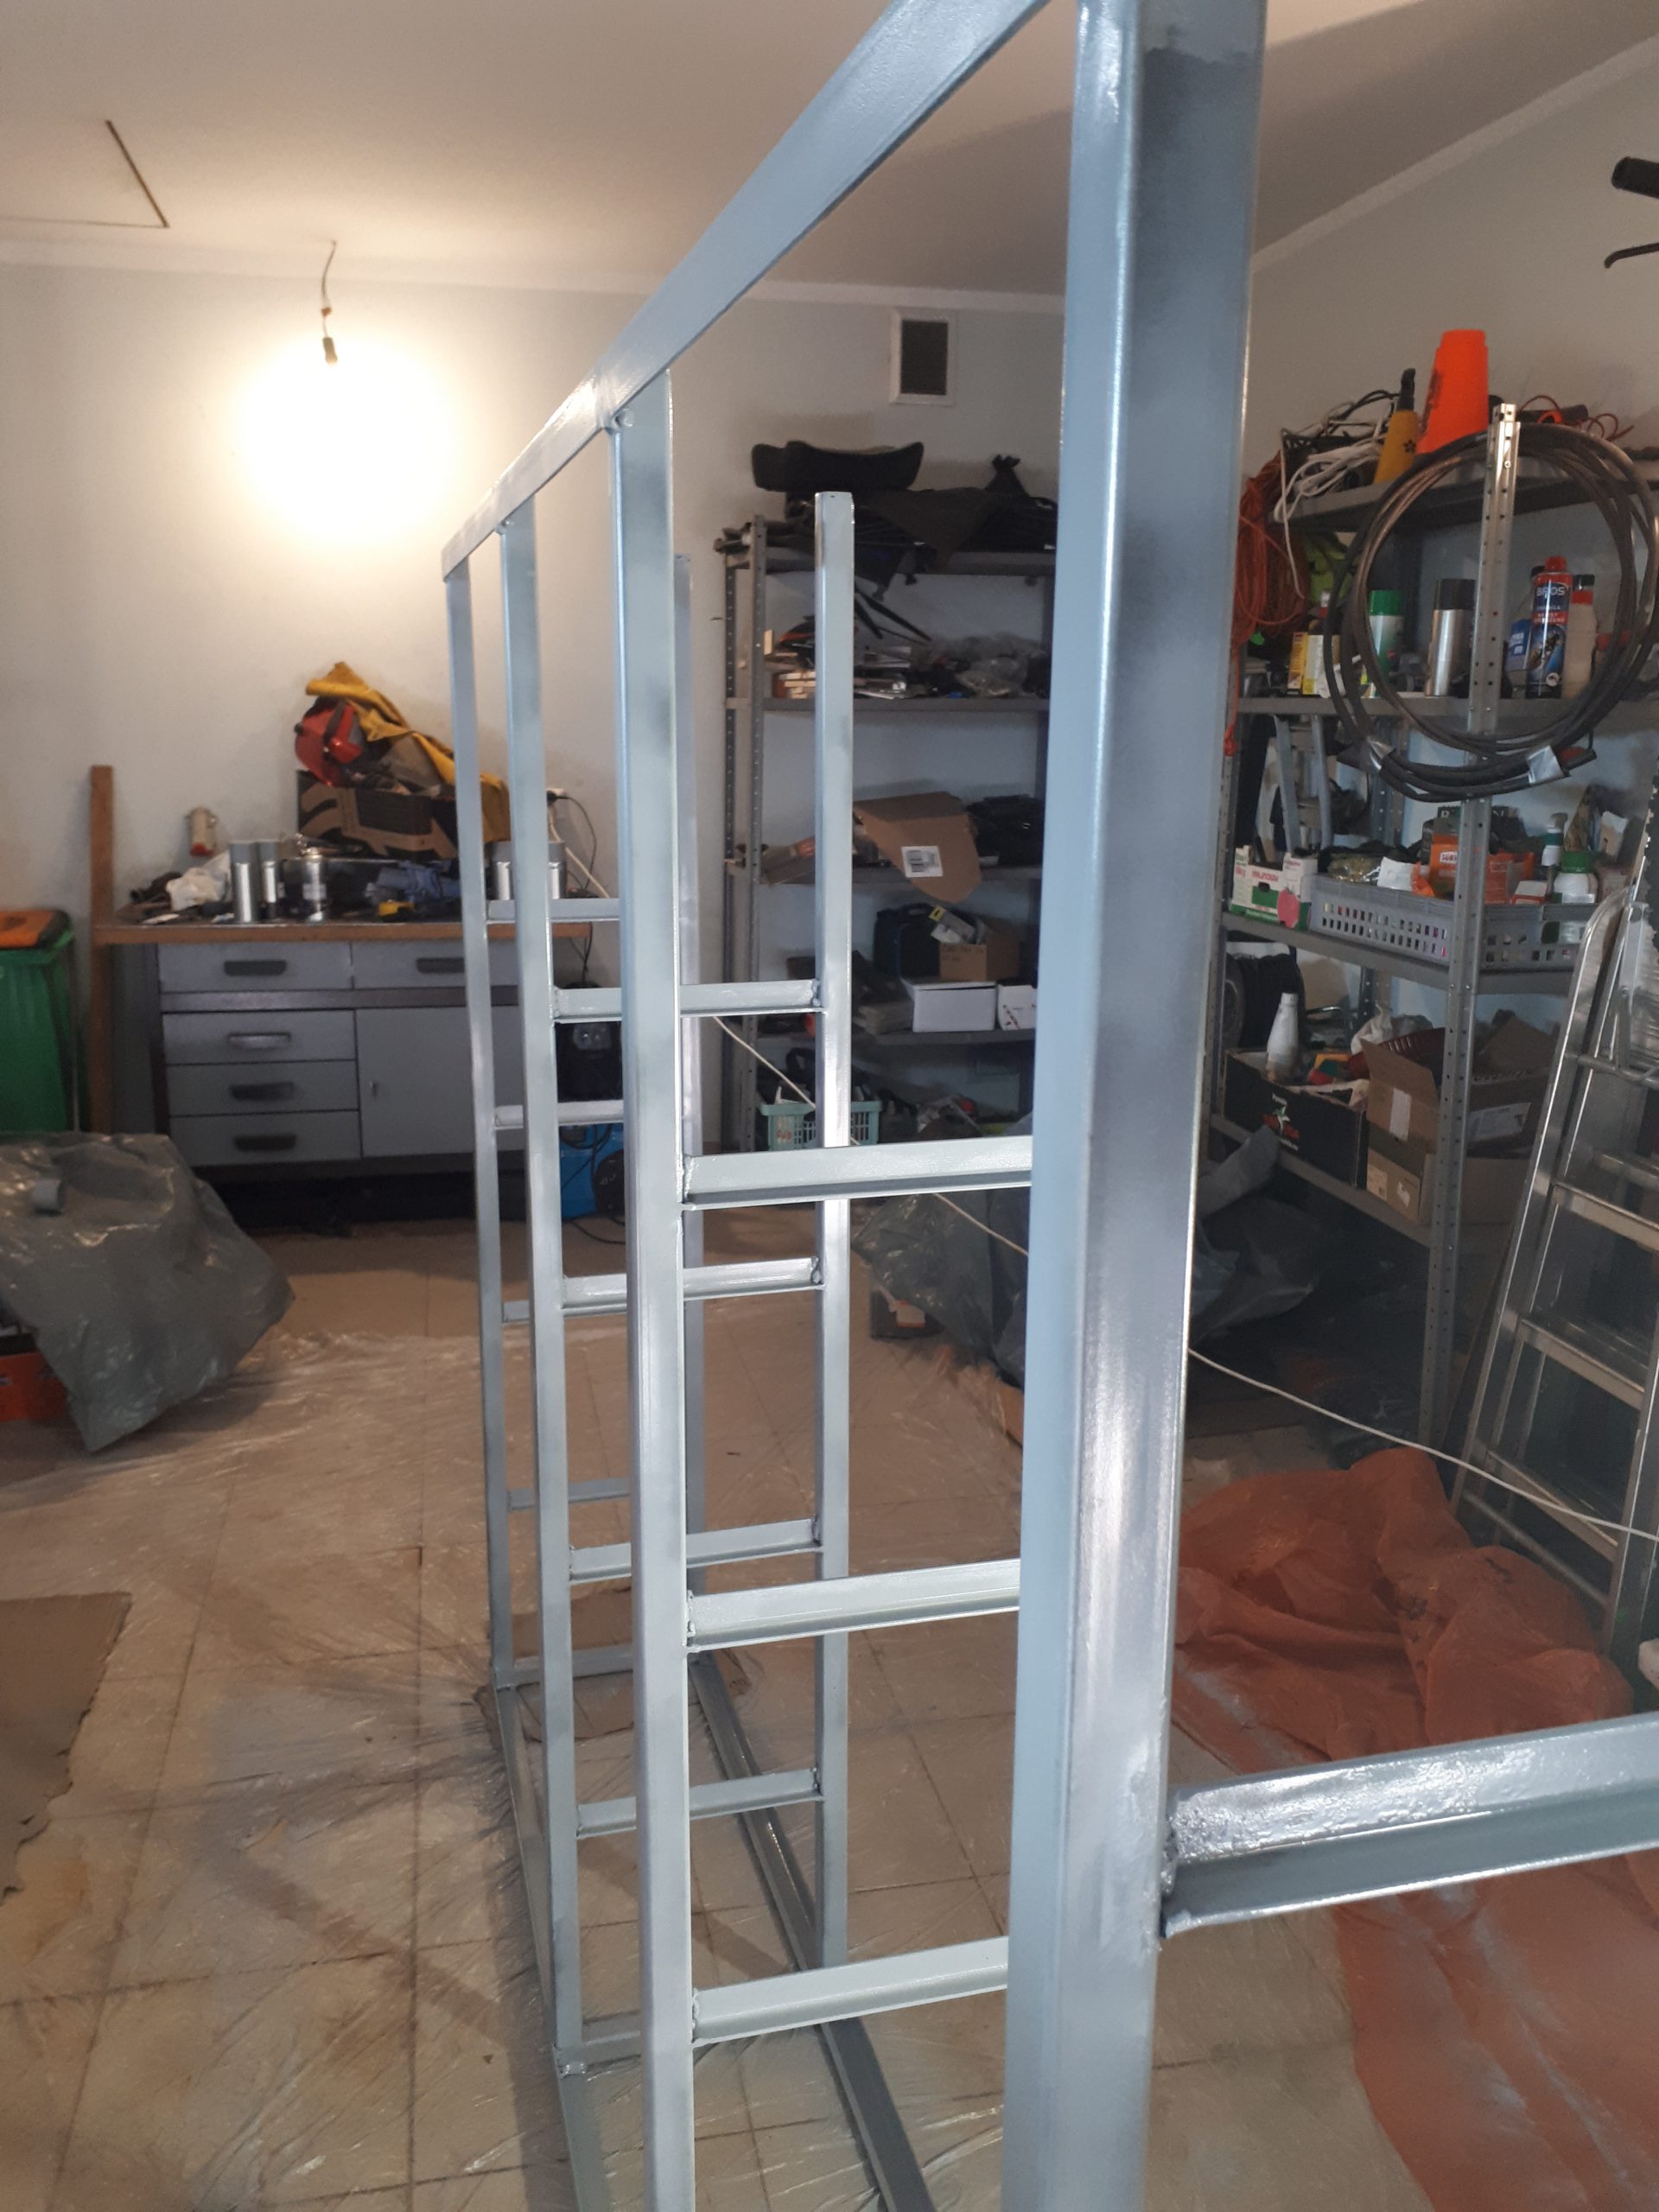
Then I prepared four frames, each consisting of three square tubes and one T-bar on the bottom.
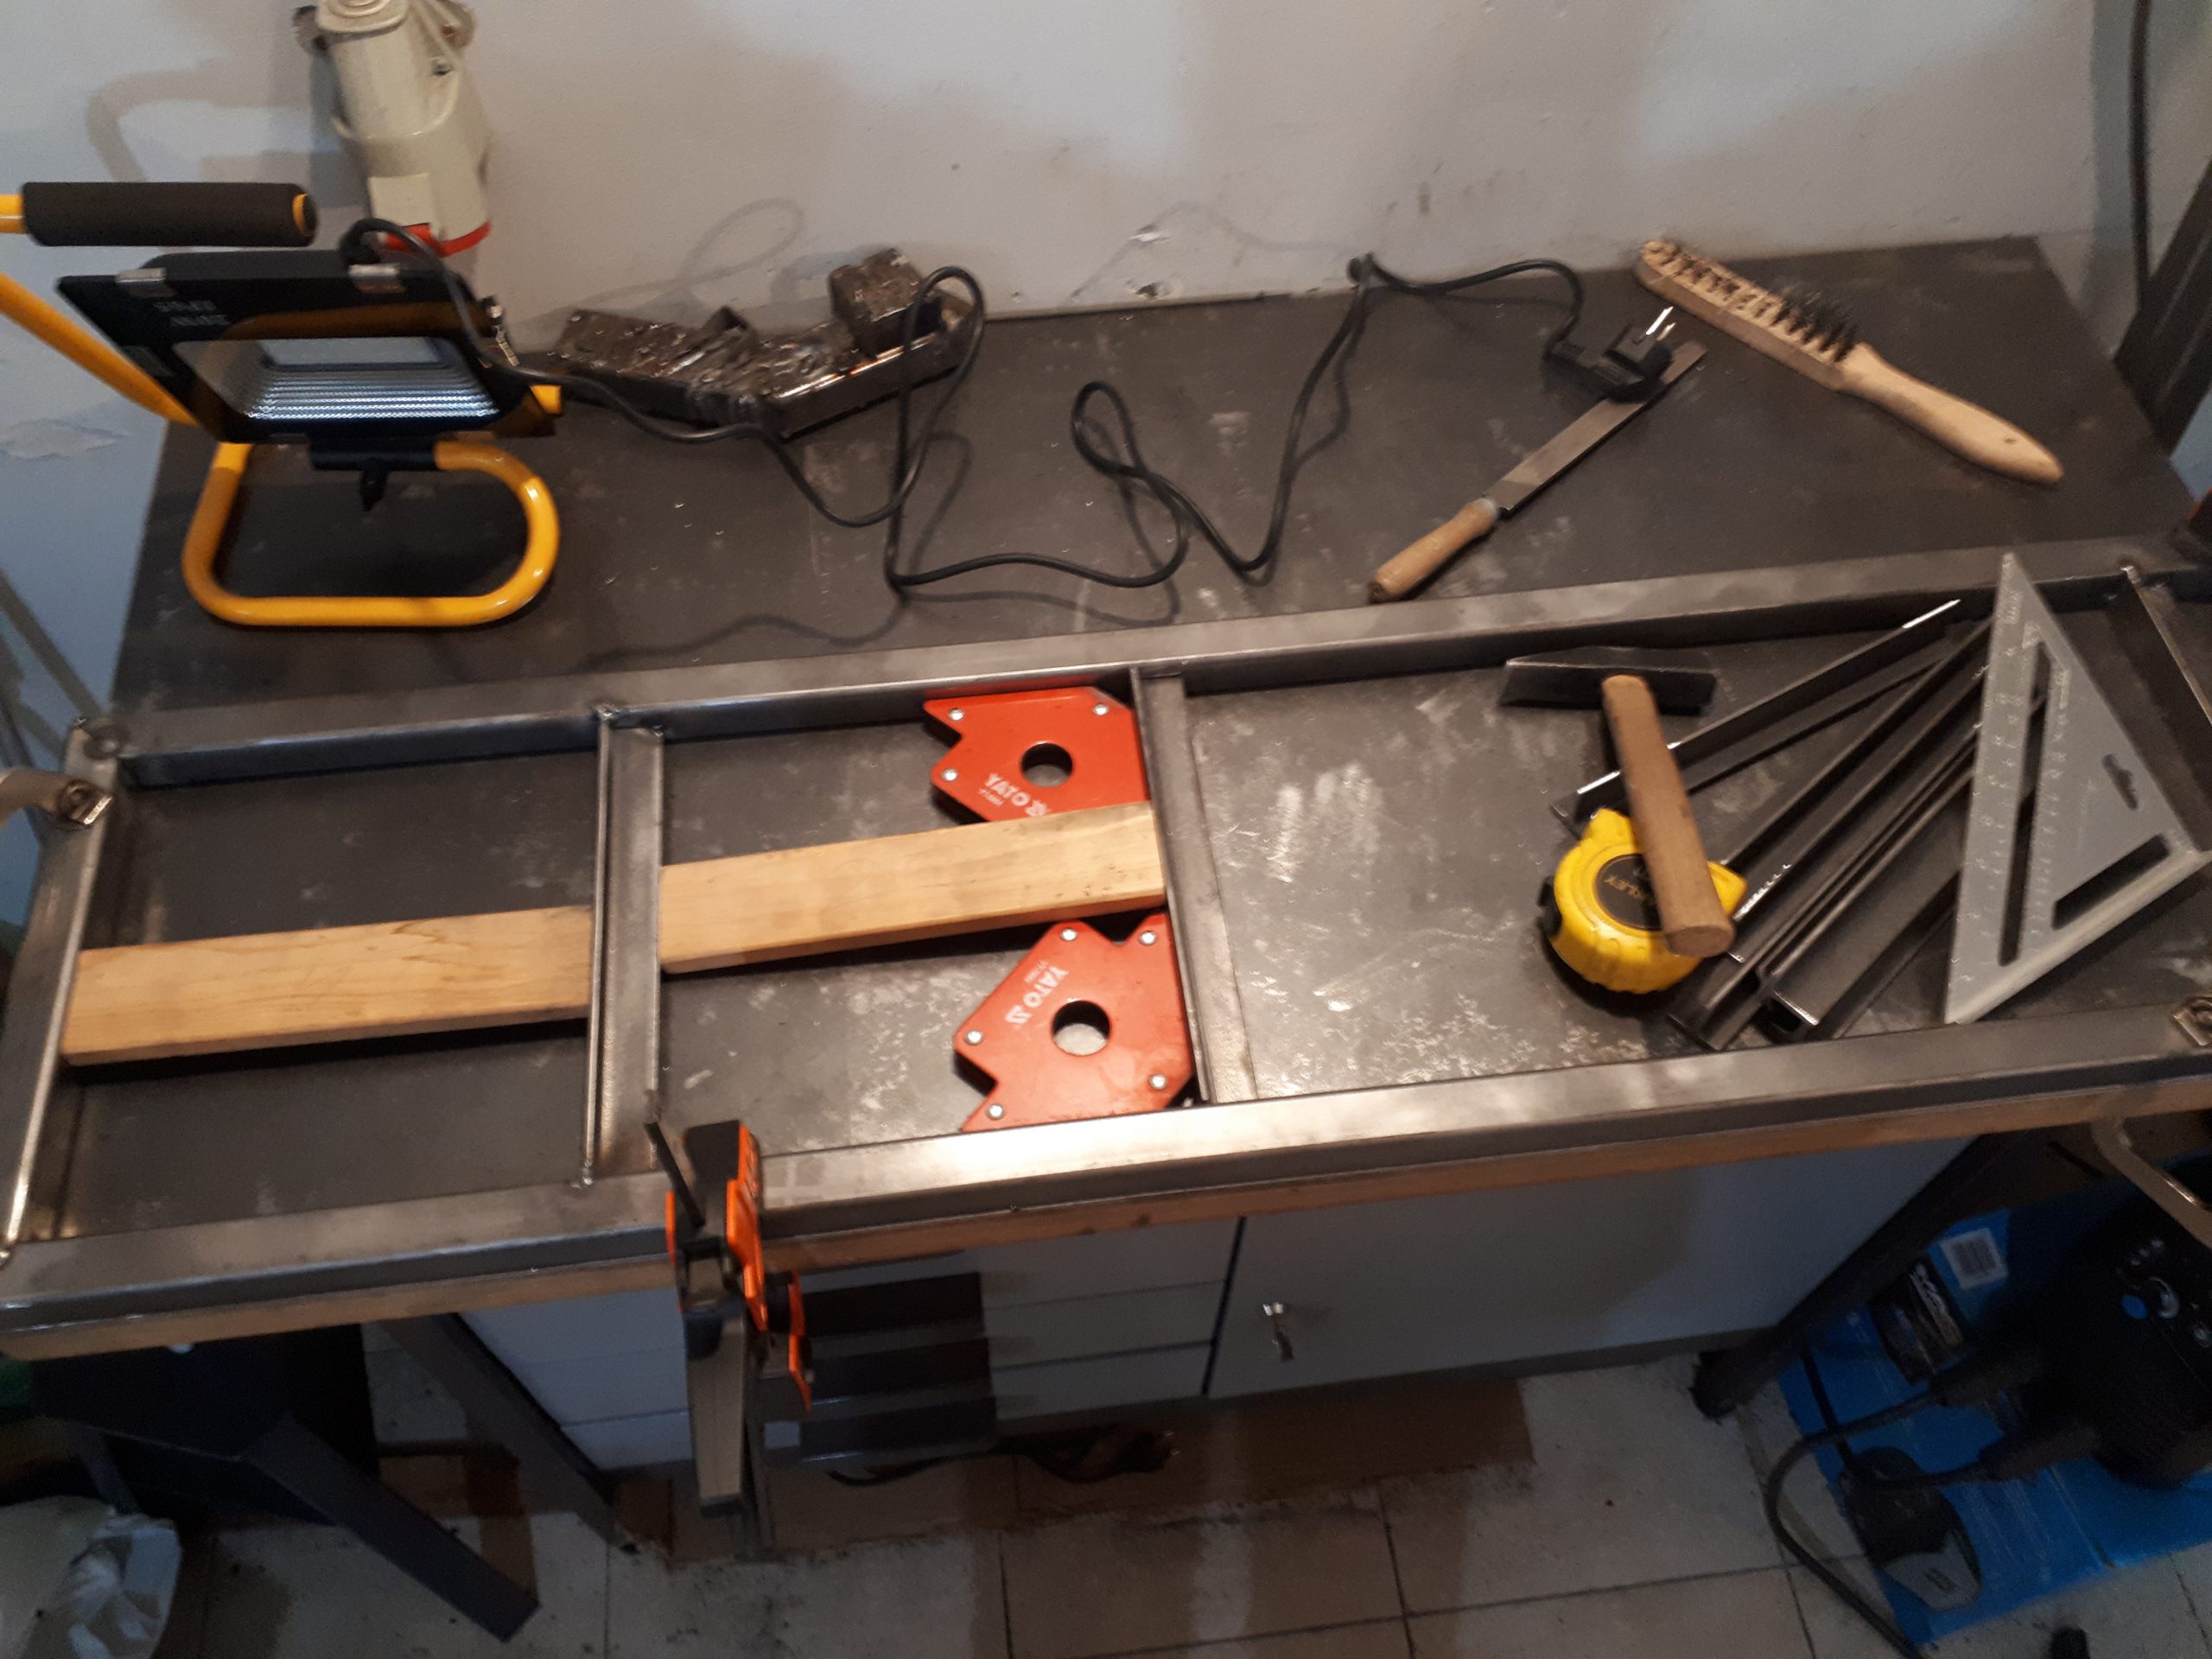
When I set up all the parts and checked if they were squared, I tacked my welds to minimize any heat-related distortion.
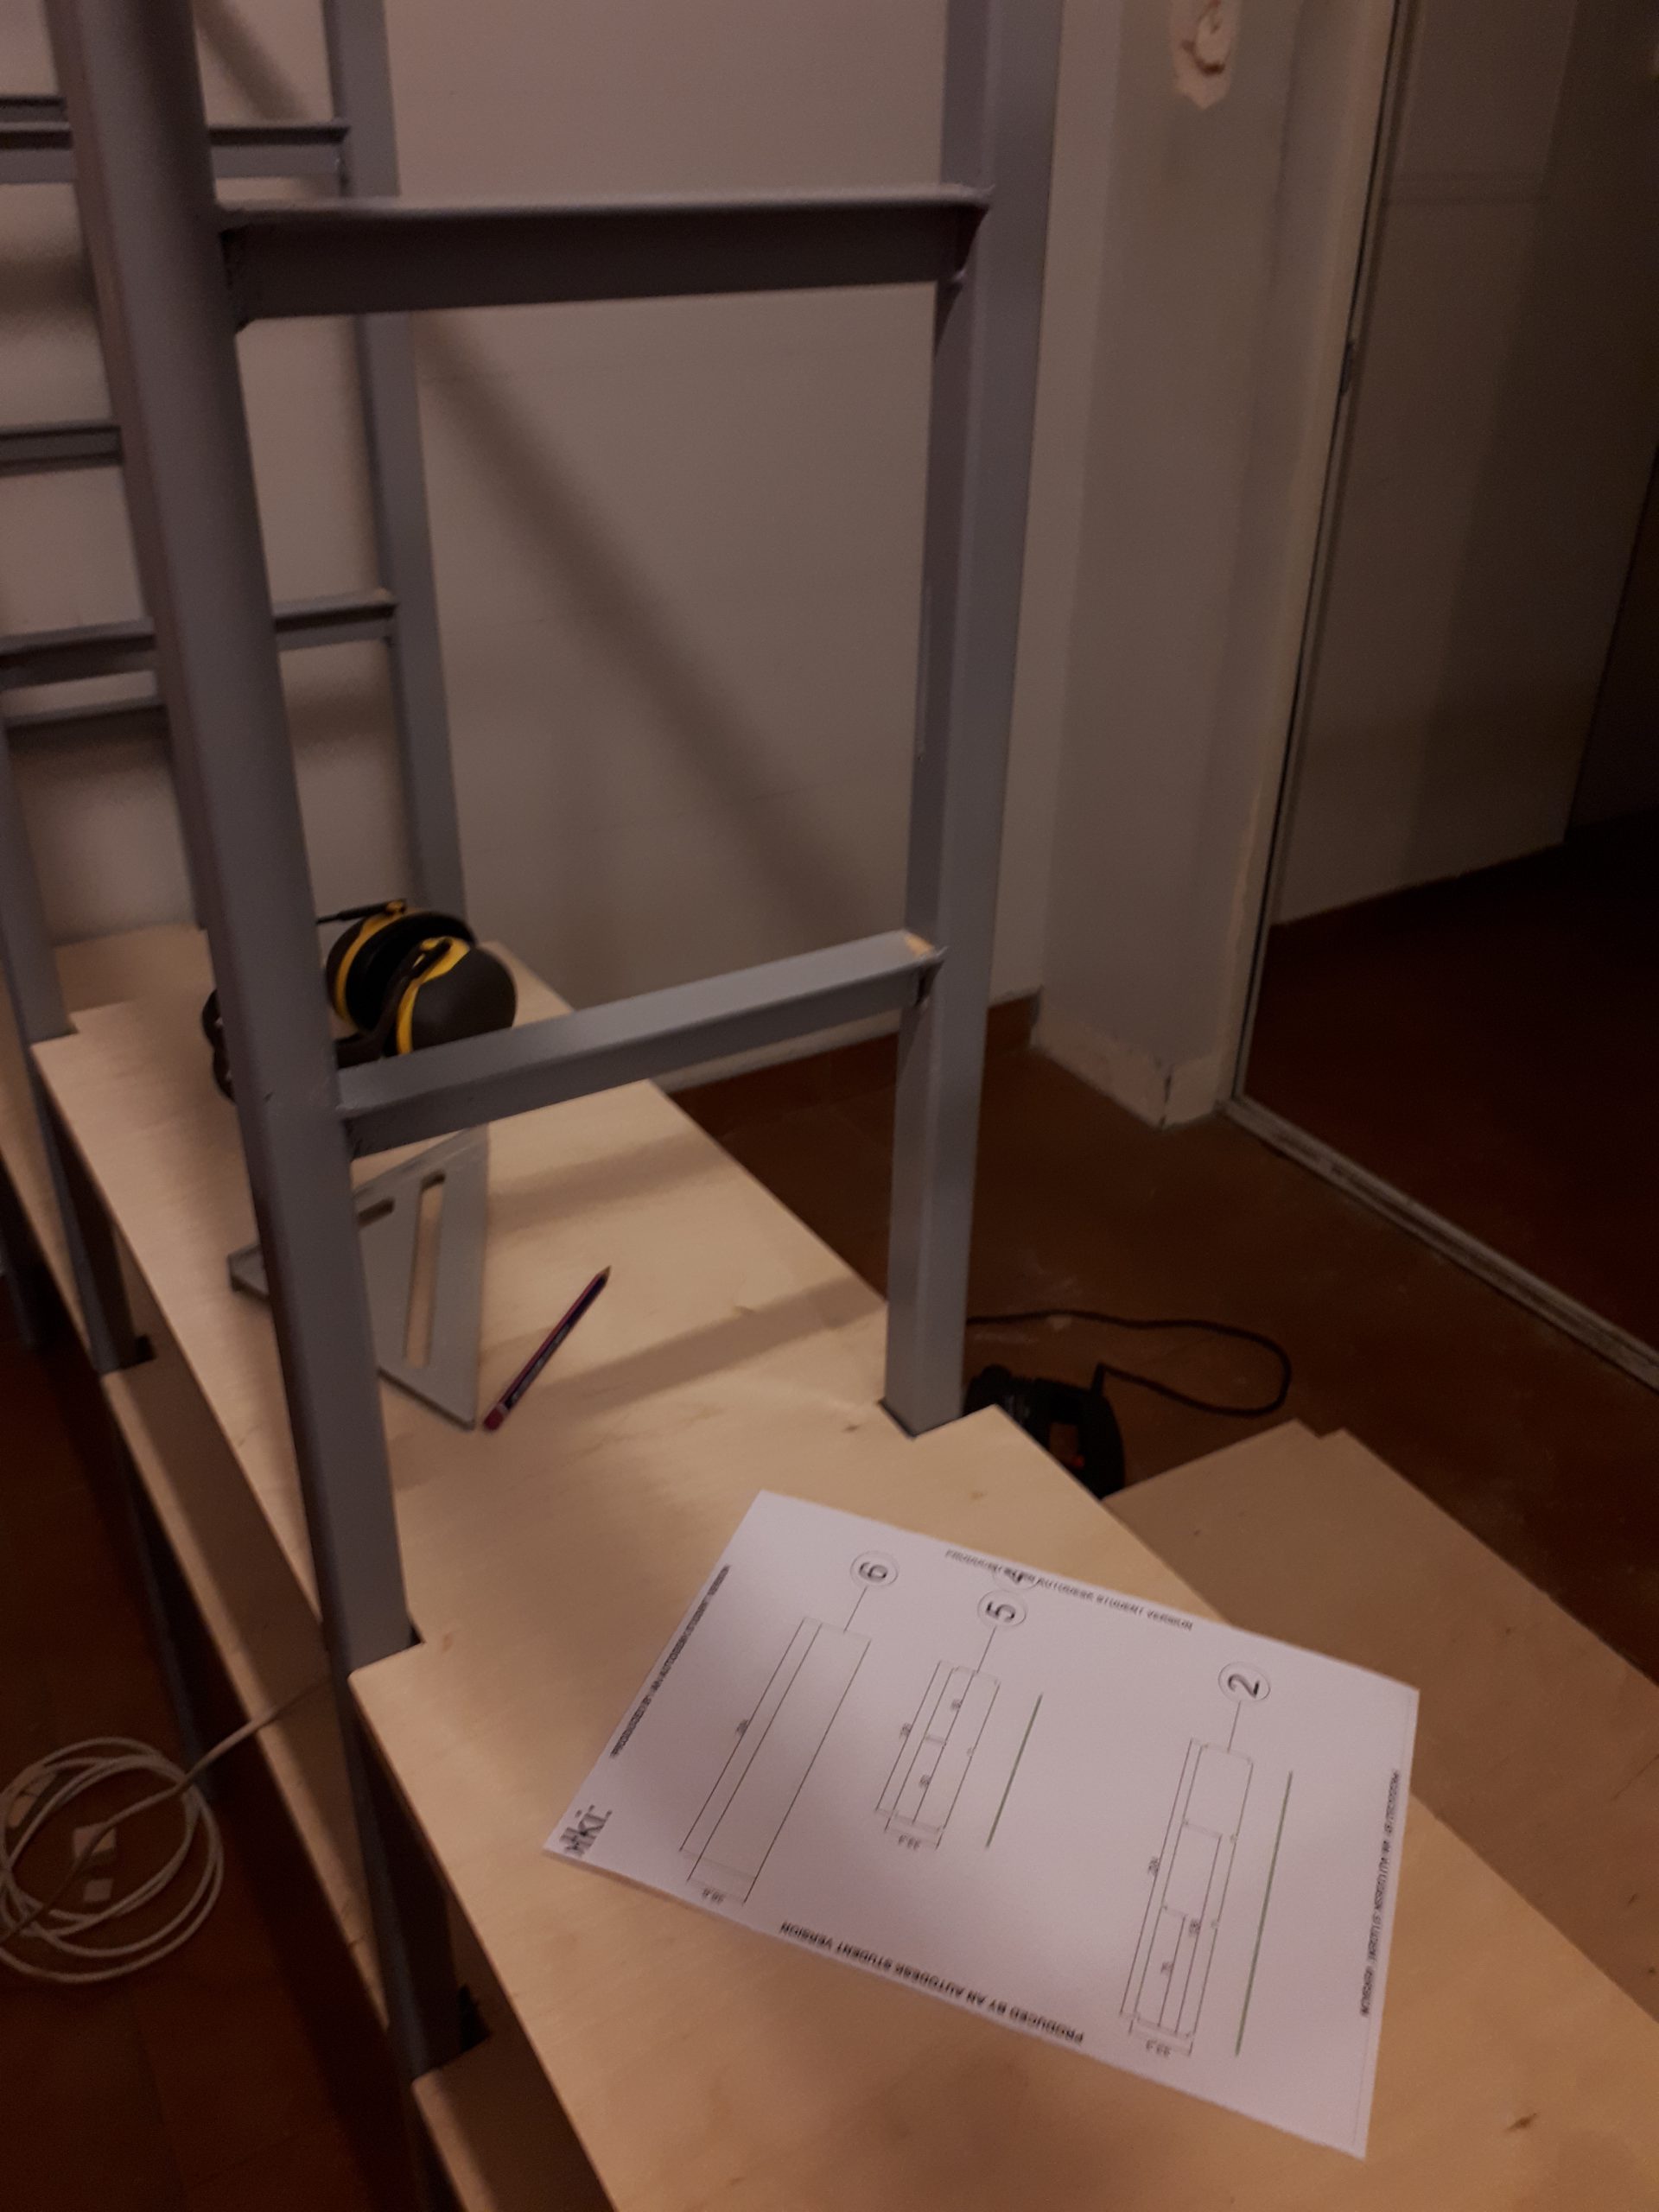
Once outer frames were done, I started welding middle T-bars that would later support all the shelves. I used a piece of wooden board as a spacer to ensure even spacing between the supporting bars.
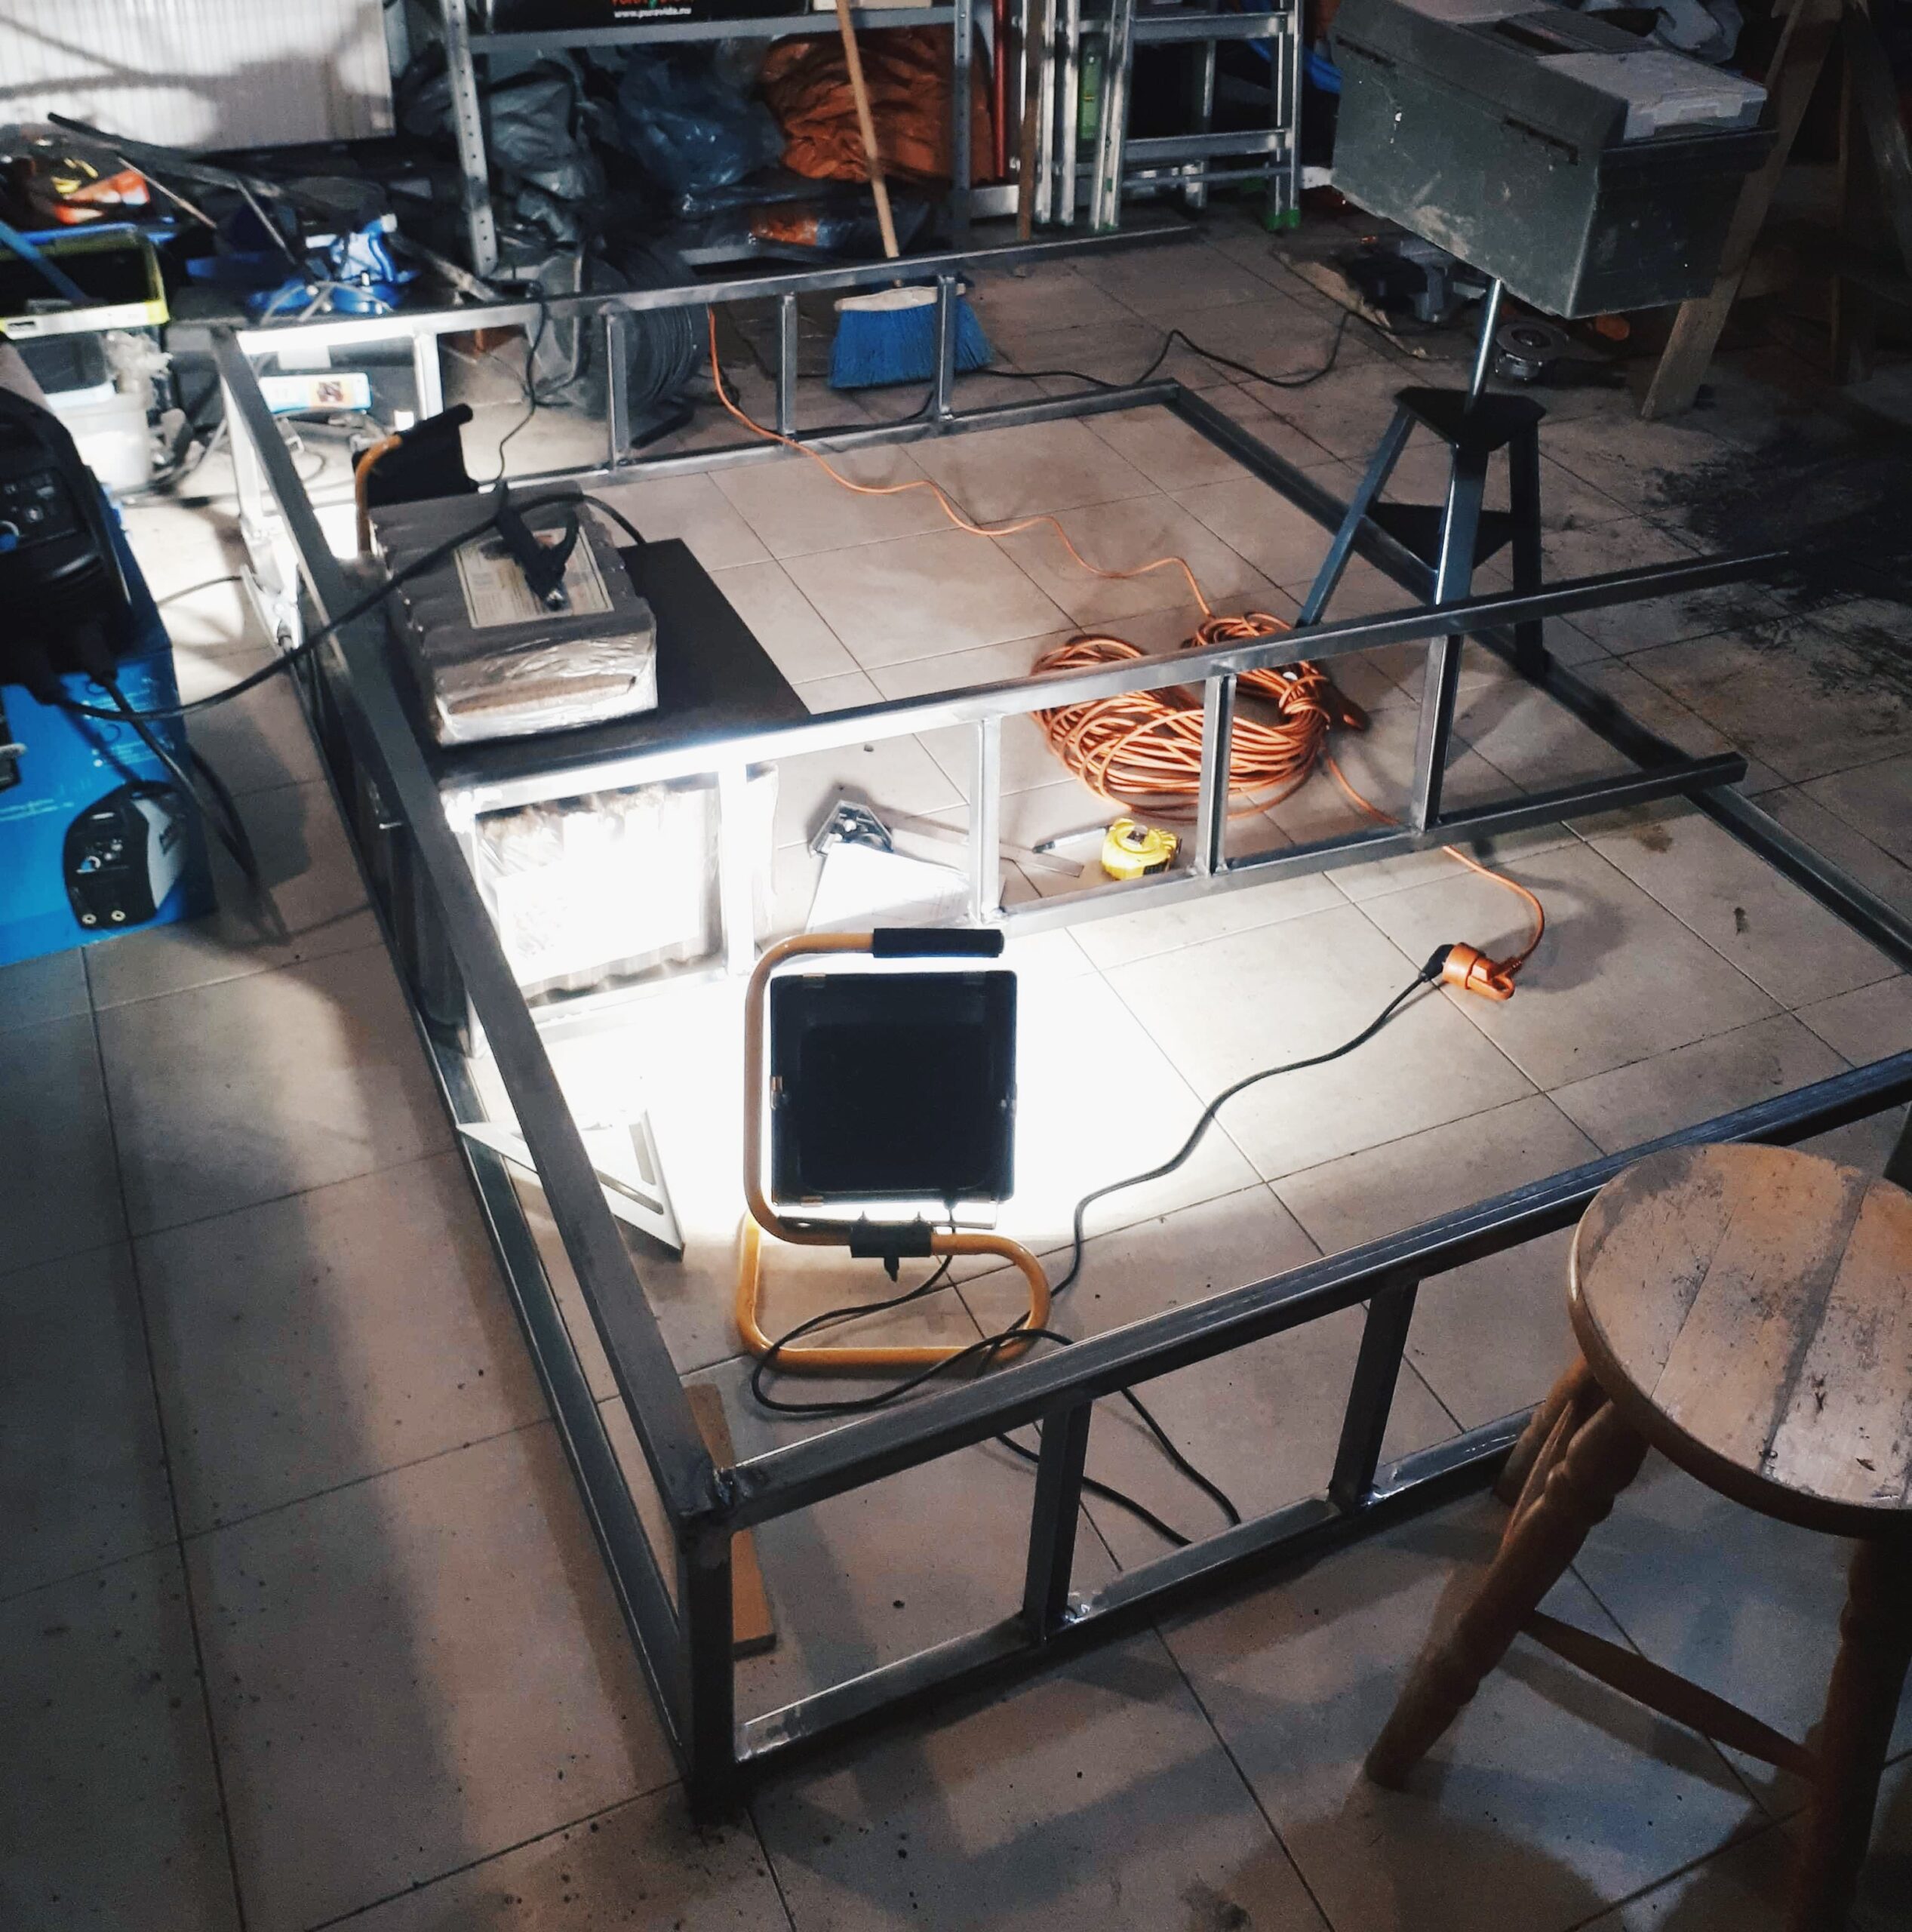
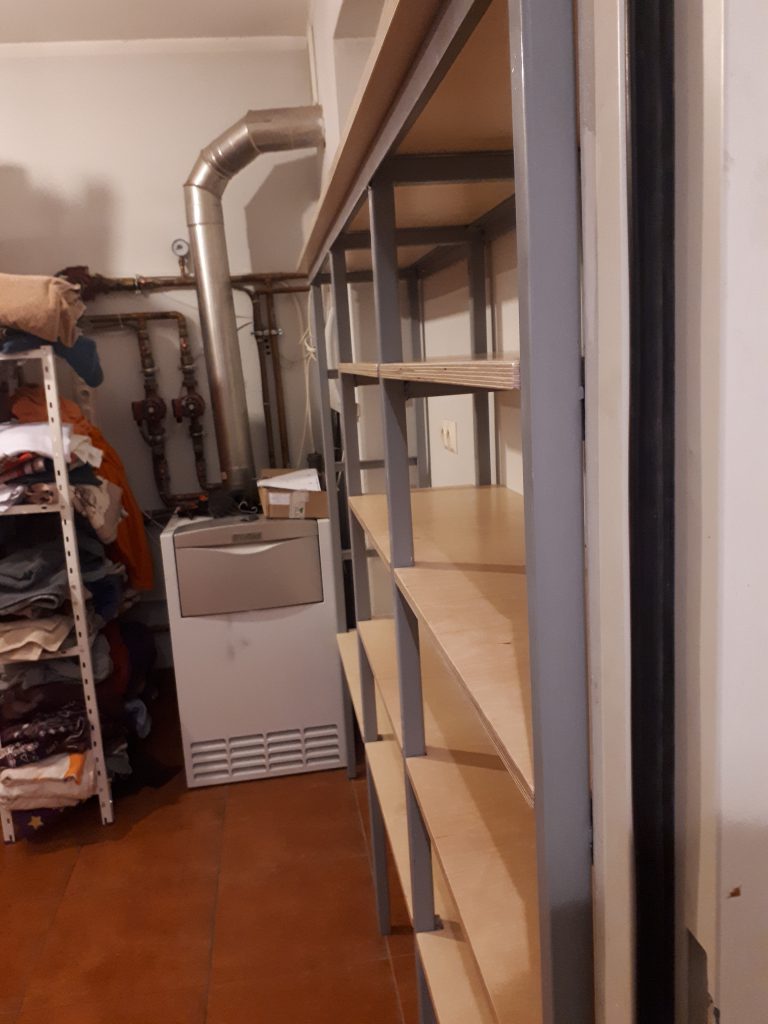
After all four frames were welded, I connected them using three angle irons. I decided against using the fourth angle iron at the bottom because it would have gotten in the way of any boxes being stored there.
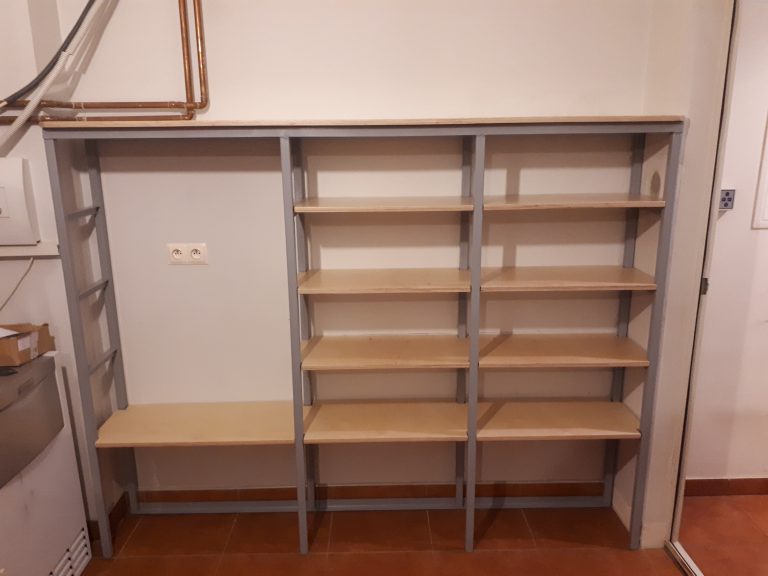
After welding, I spray painted everything and once the metal frame was done, I proceeded to work on the shelves.
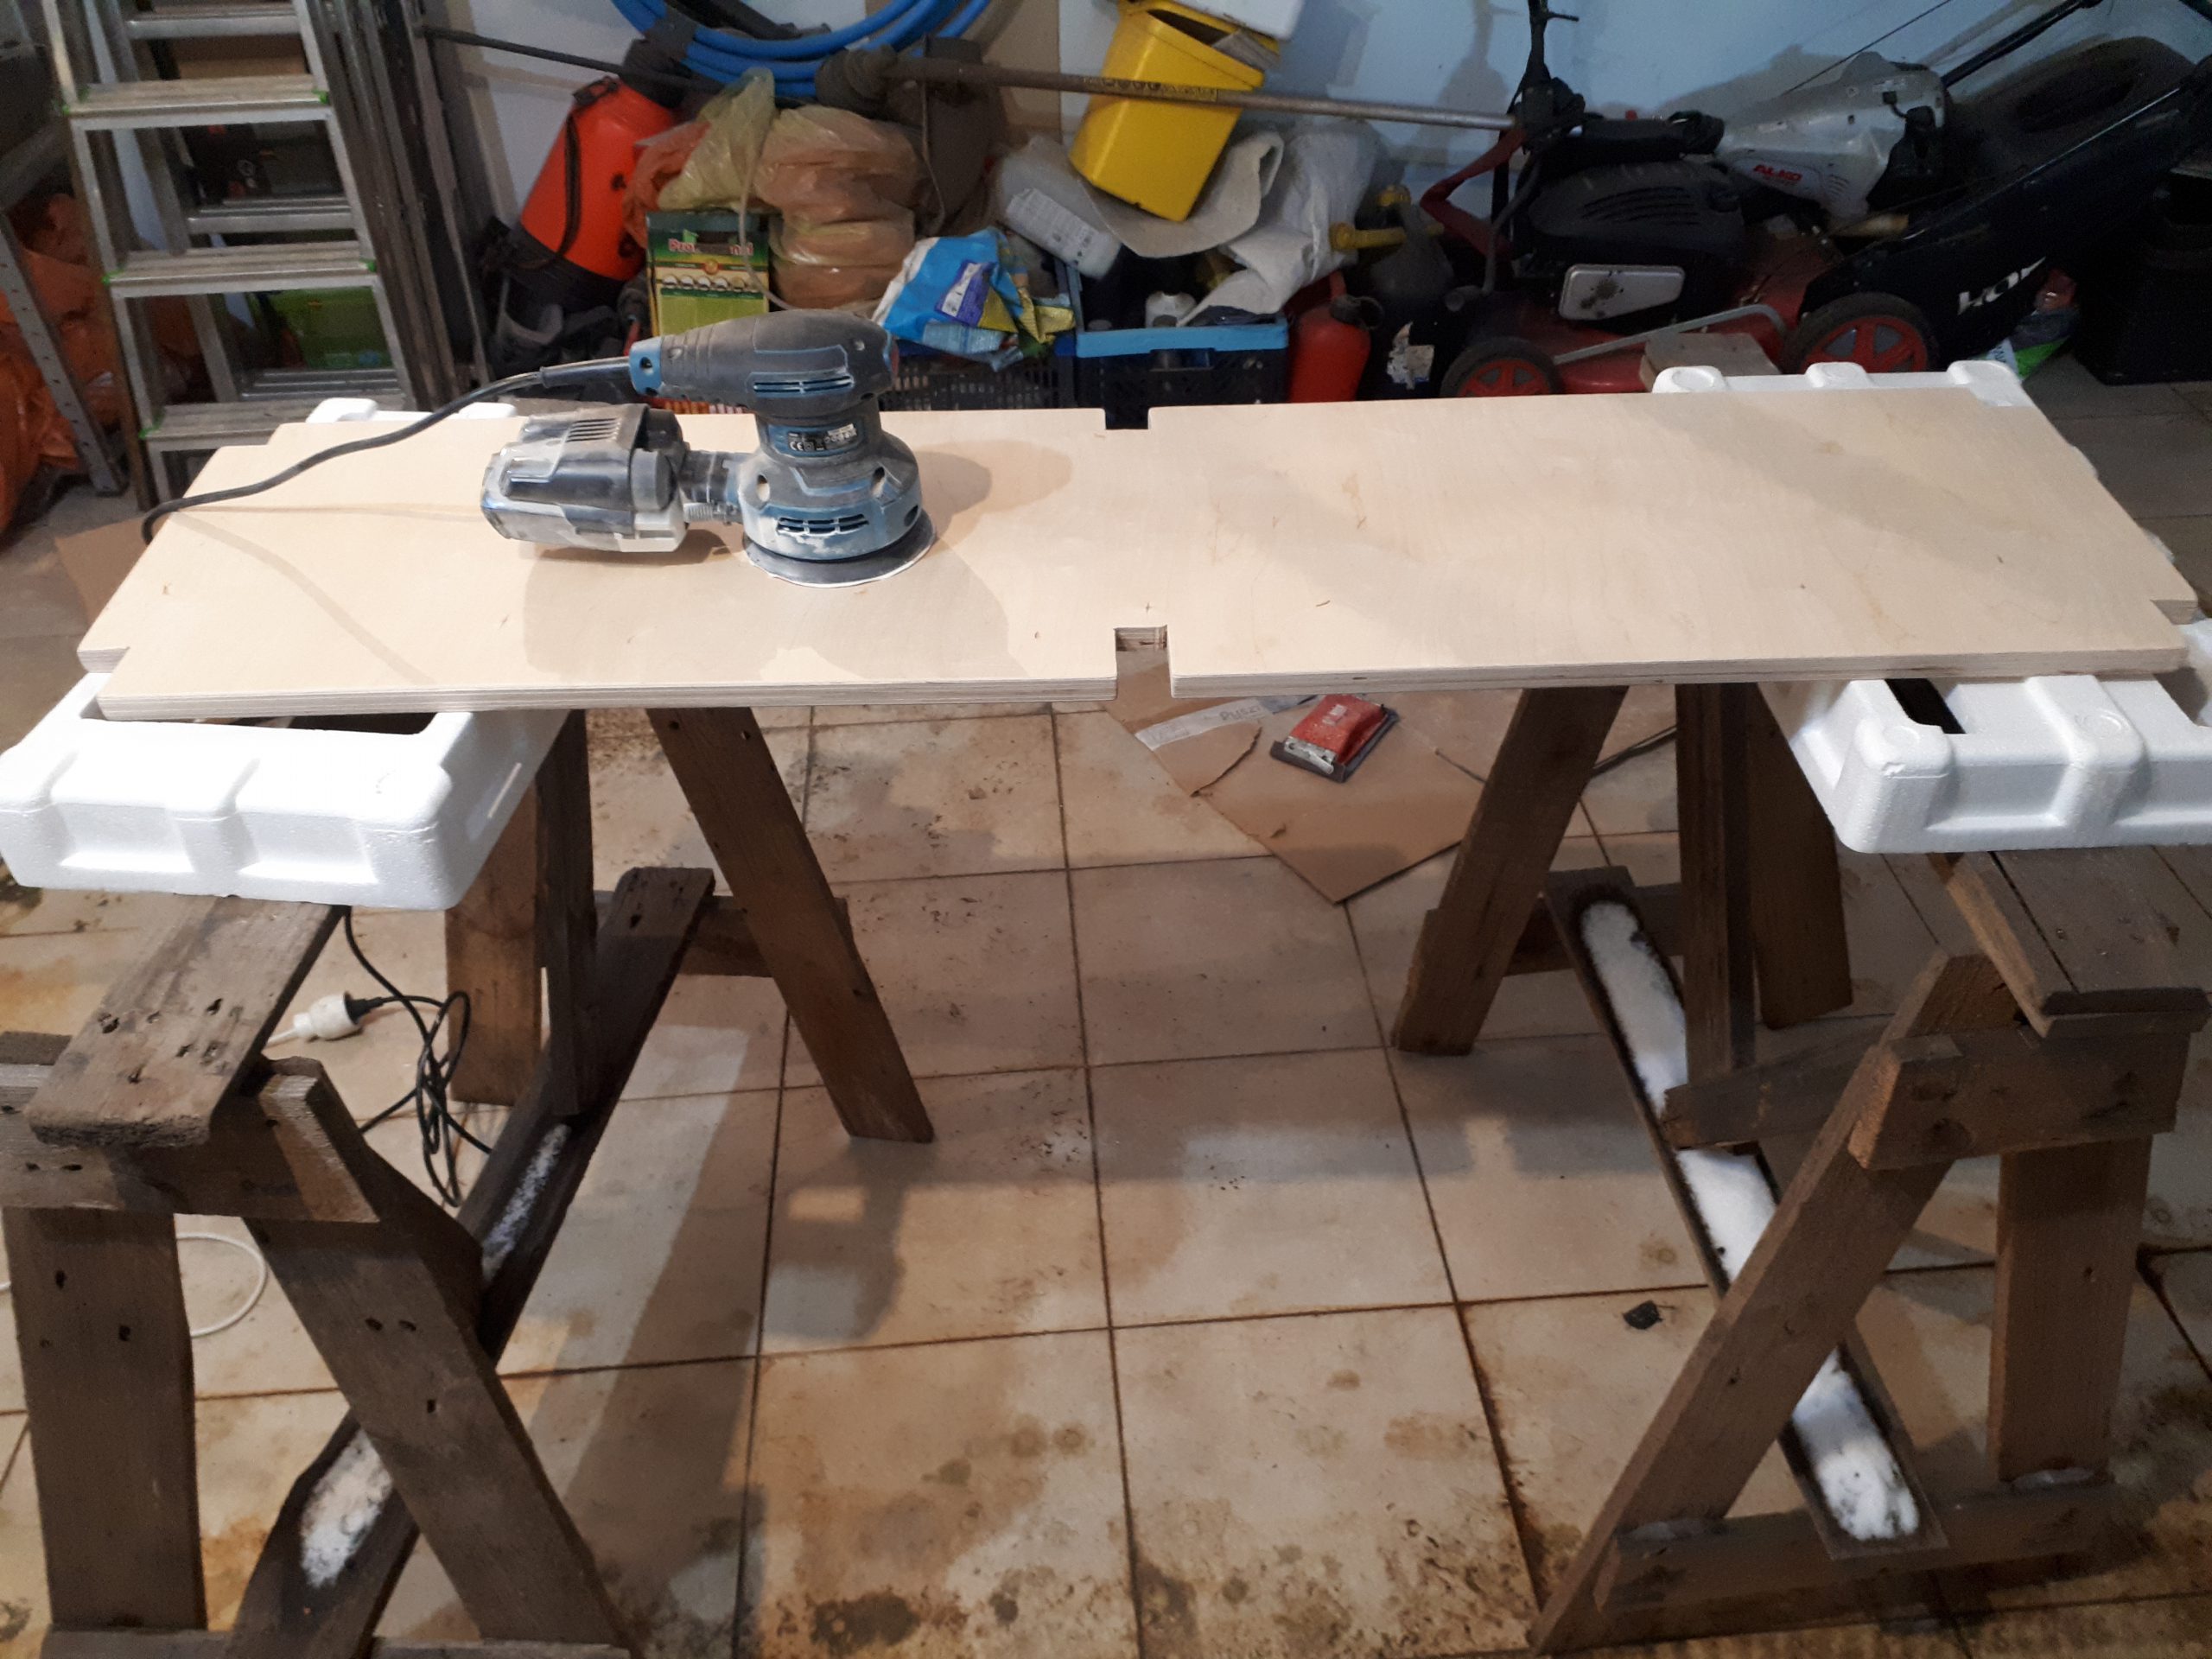
I ordered five plywood boards: two of them were 204cm and three of them were 129cm. The boards were slightly wider at the end than the front of the metal frame because I had one strip of tiles on the bottom part of the wall. To rectify this issue I had to make the boards wider than the rack.
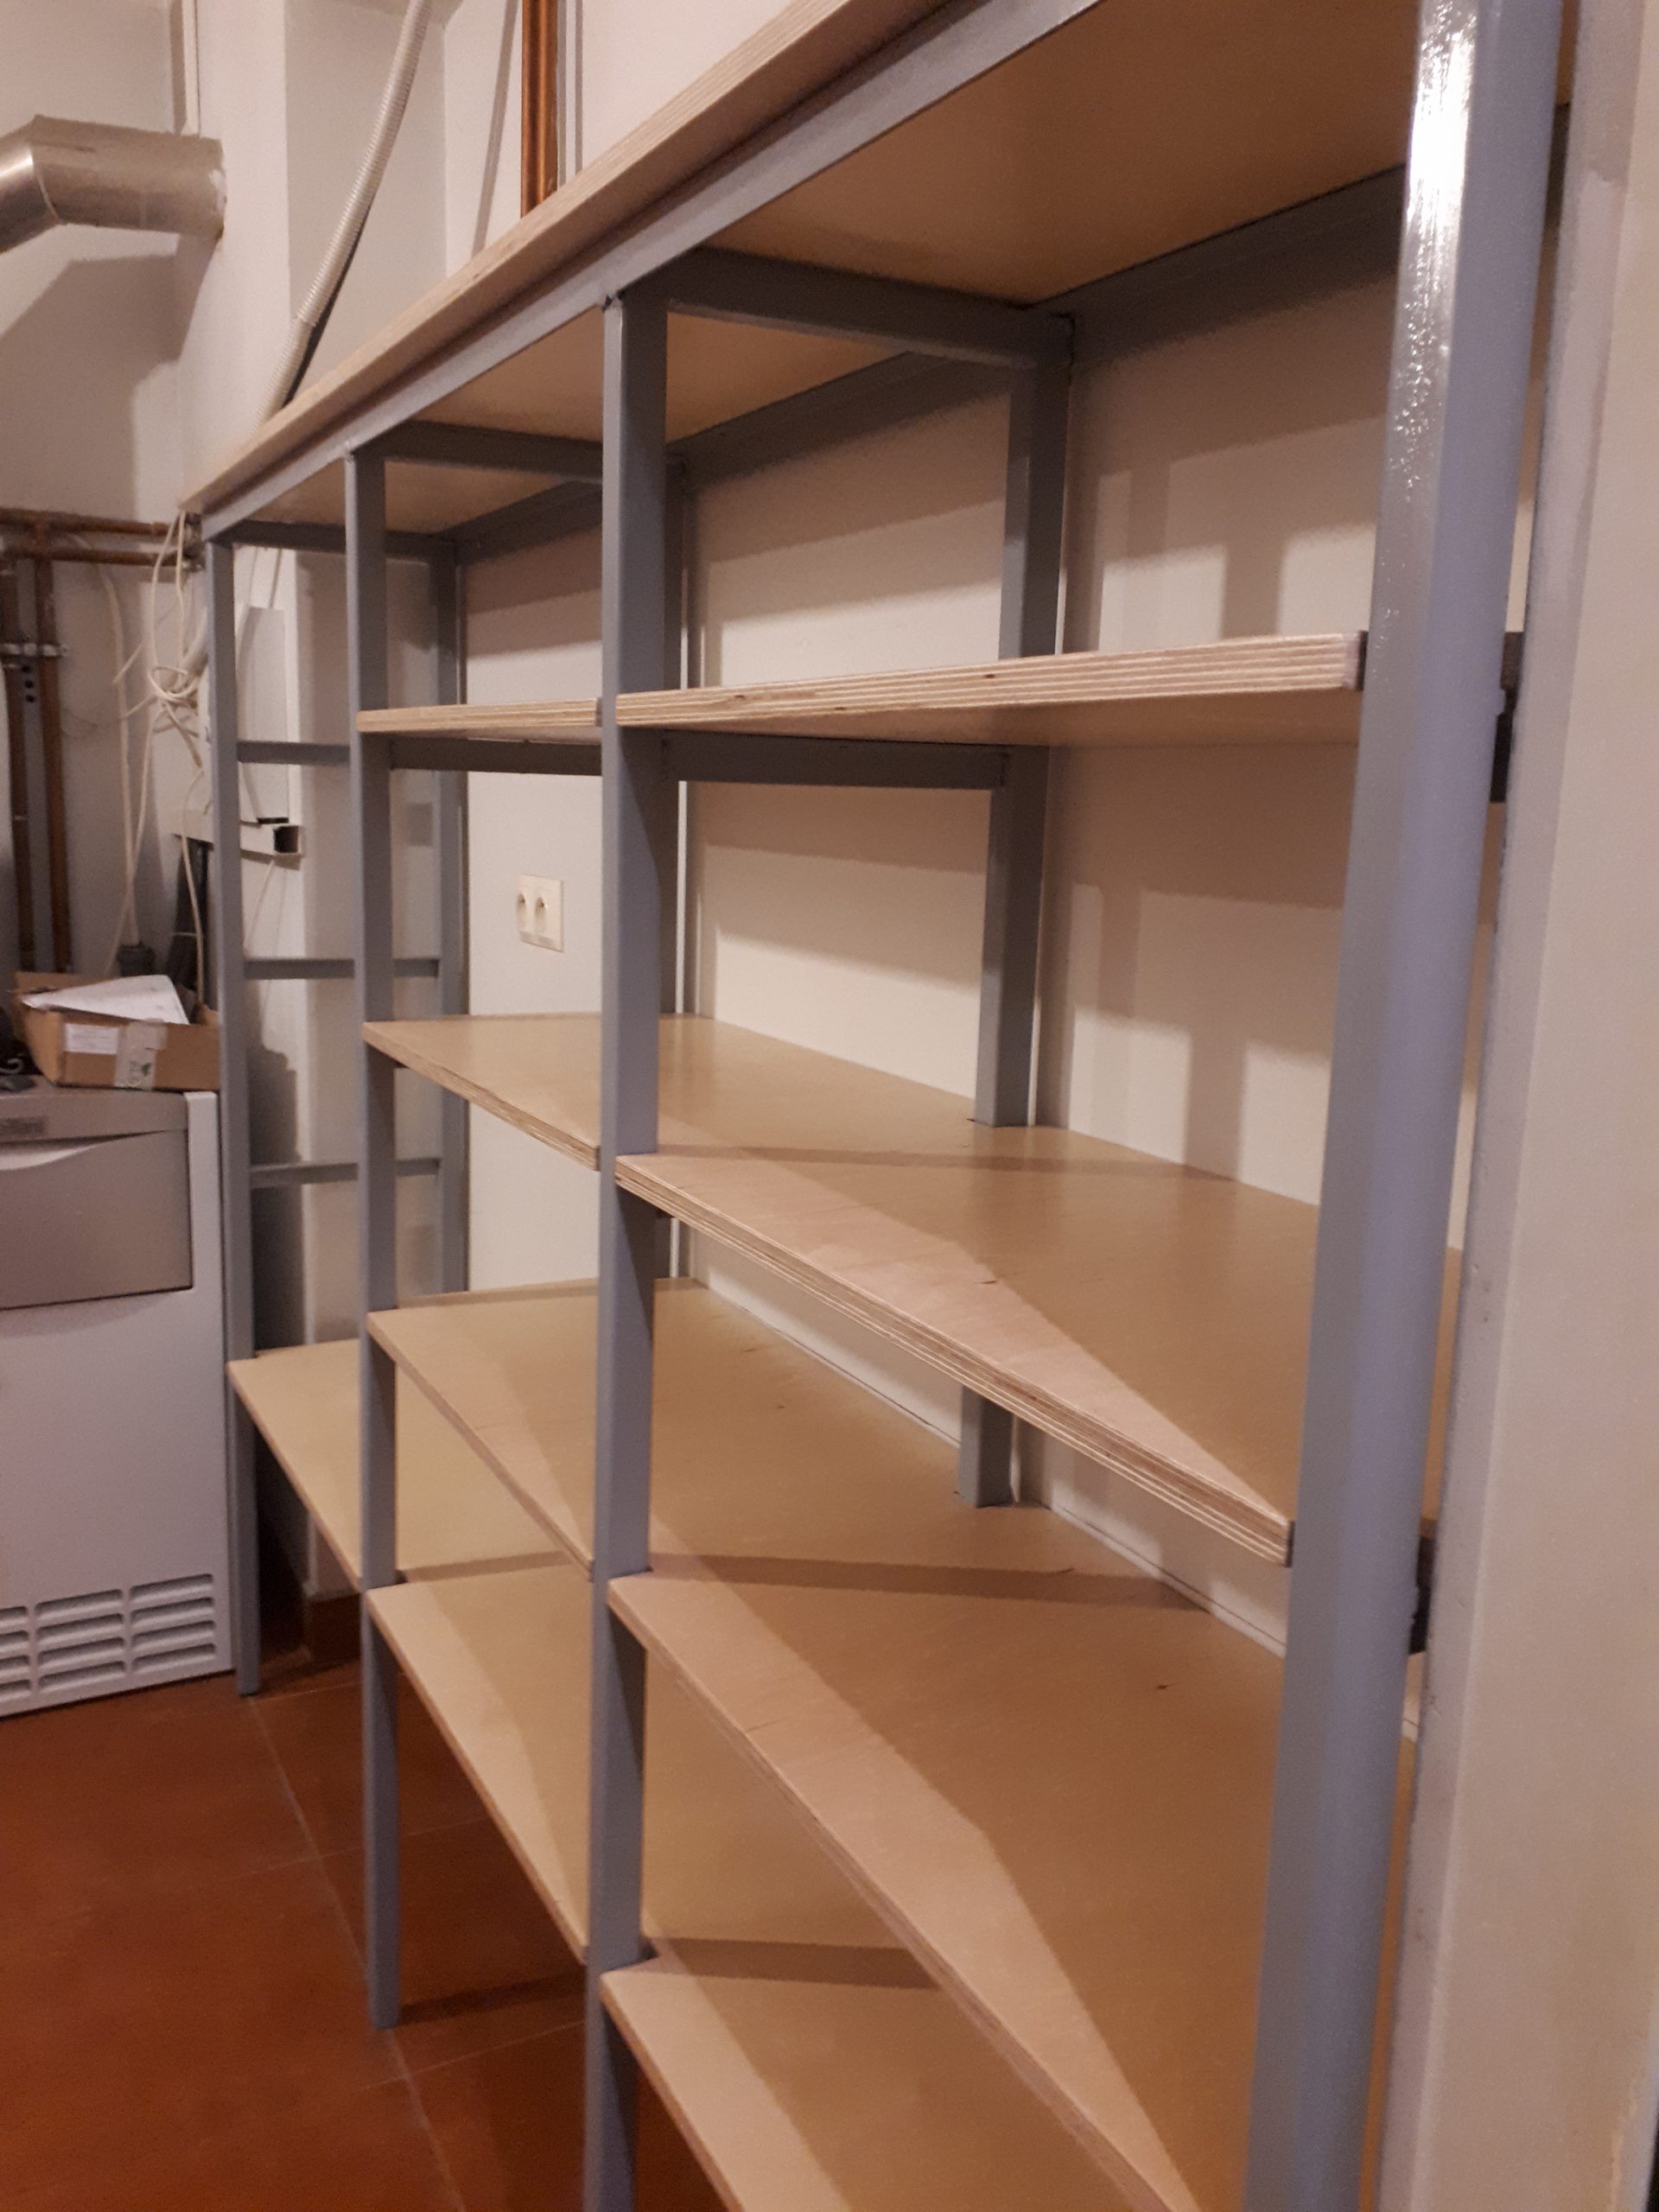
I cut out spaces where the metal tubes ran through the boards. Then I sandpapered all the shelves and painted them with two coats of lacquer
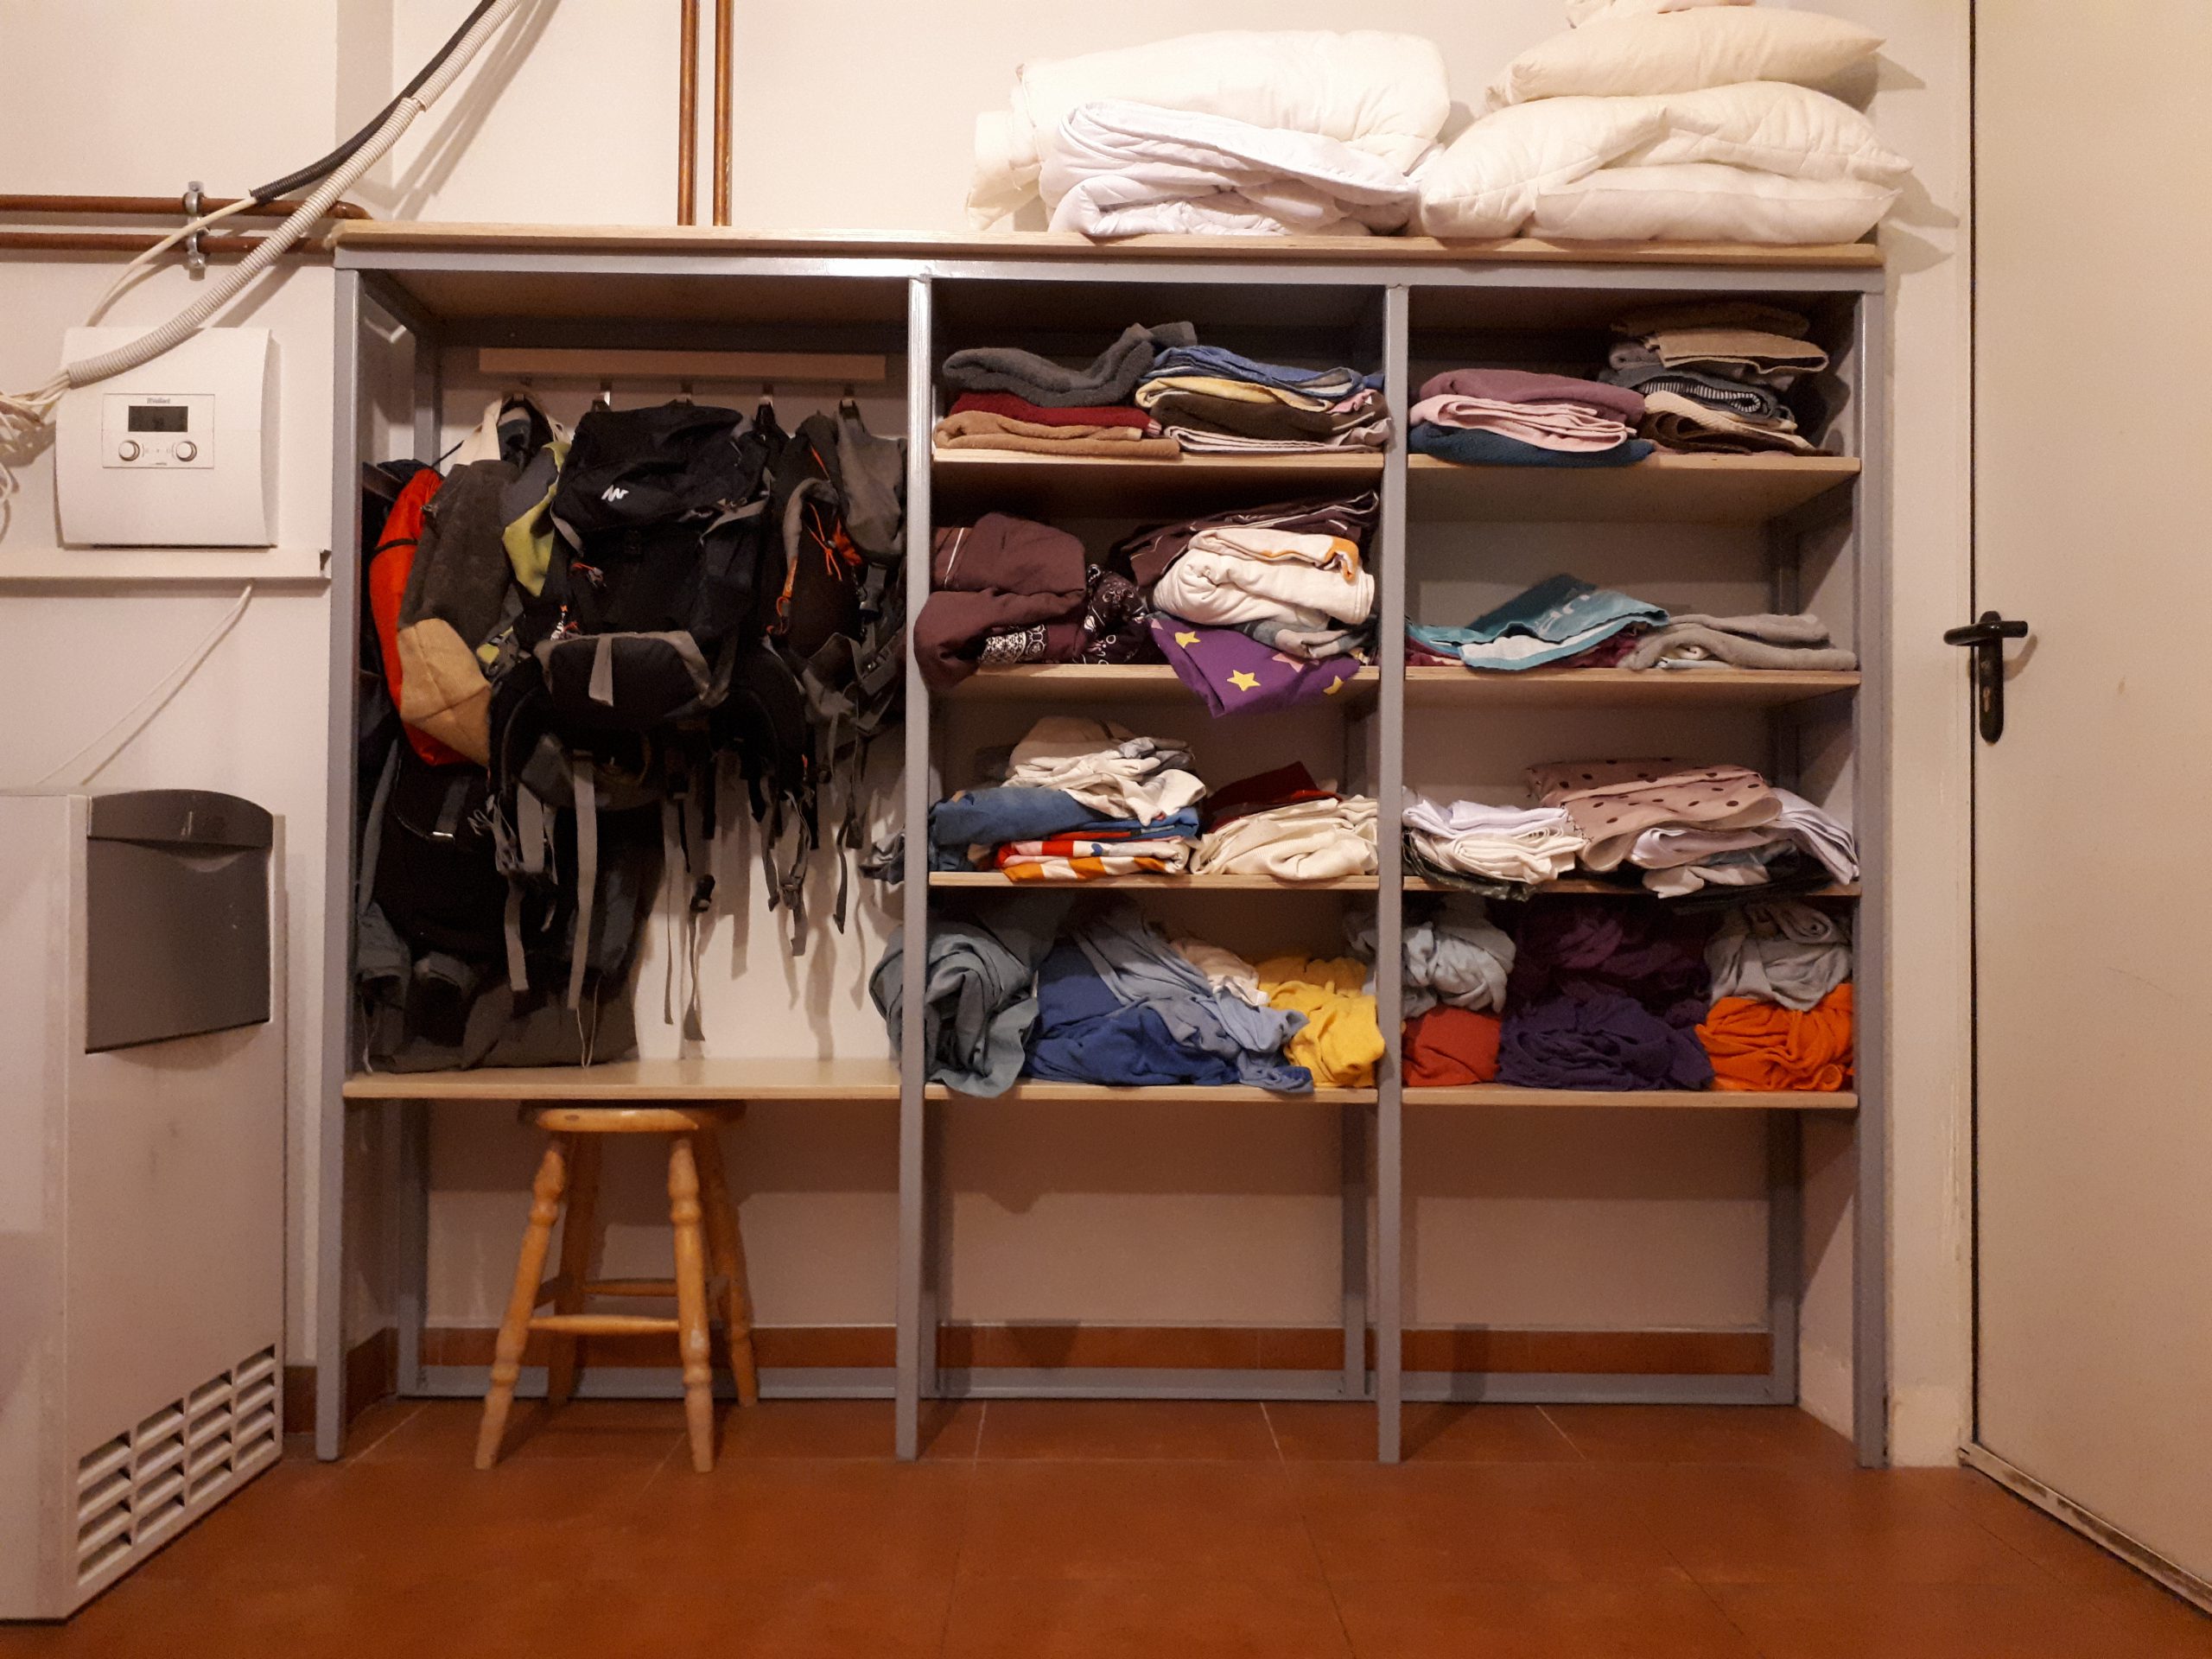
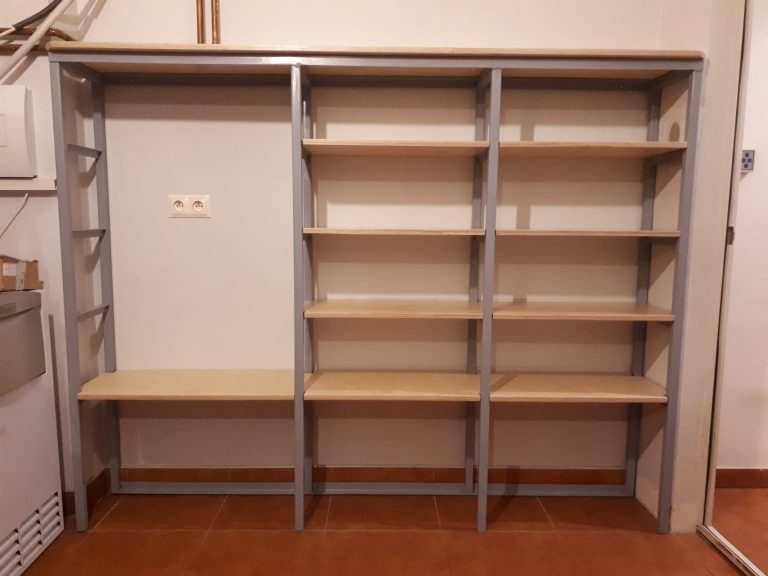
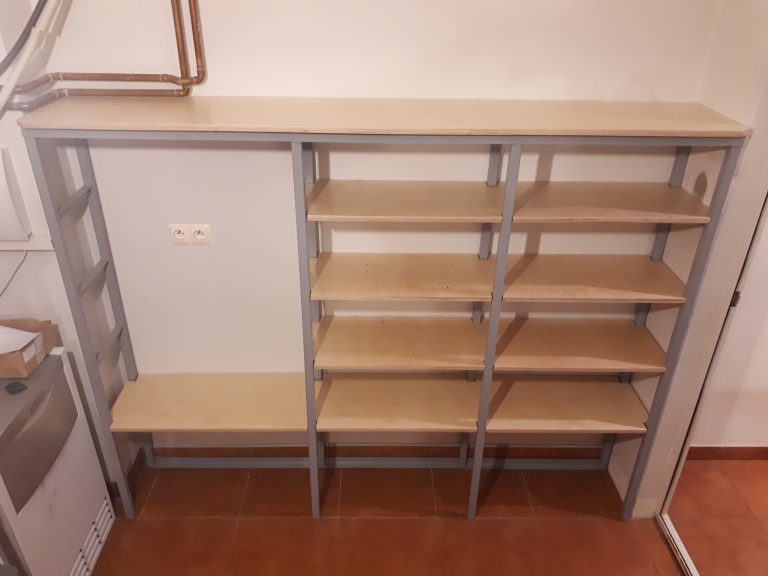
I screwed all the shelves to the supporting T bars to hold them in place. I also bolted the rack to the wall as a safety precaution. This ensured that the relatively high rack wouldn’t fall on anyone.
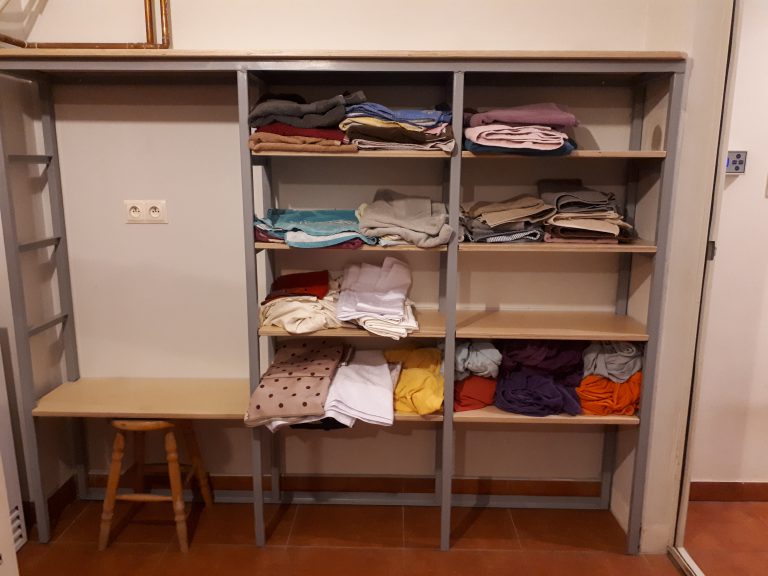
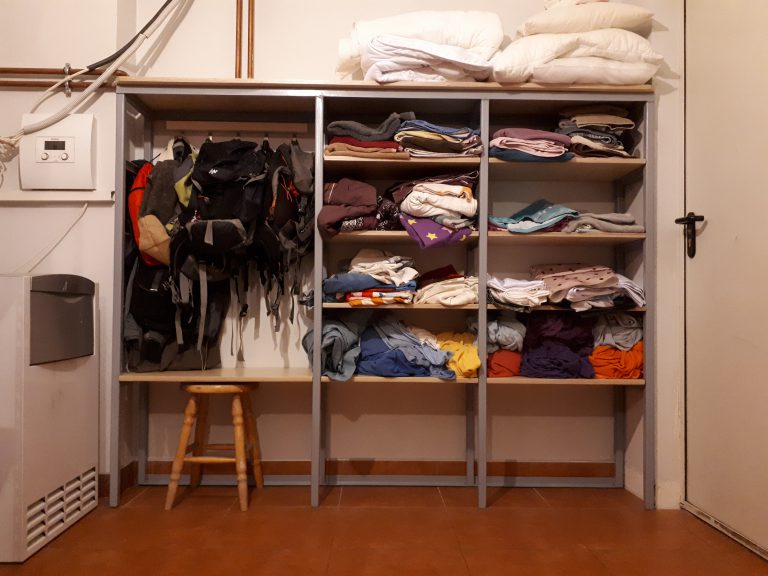
Once everything was done the last thing left was to put all the pillows, bedspreads etc. on the shelves and test if there was enough space for everything.
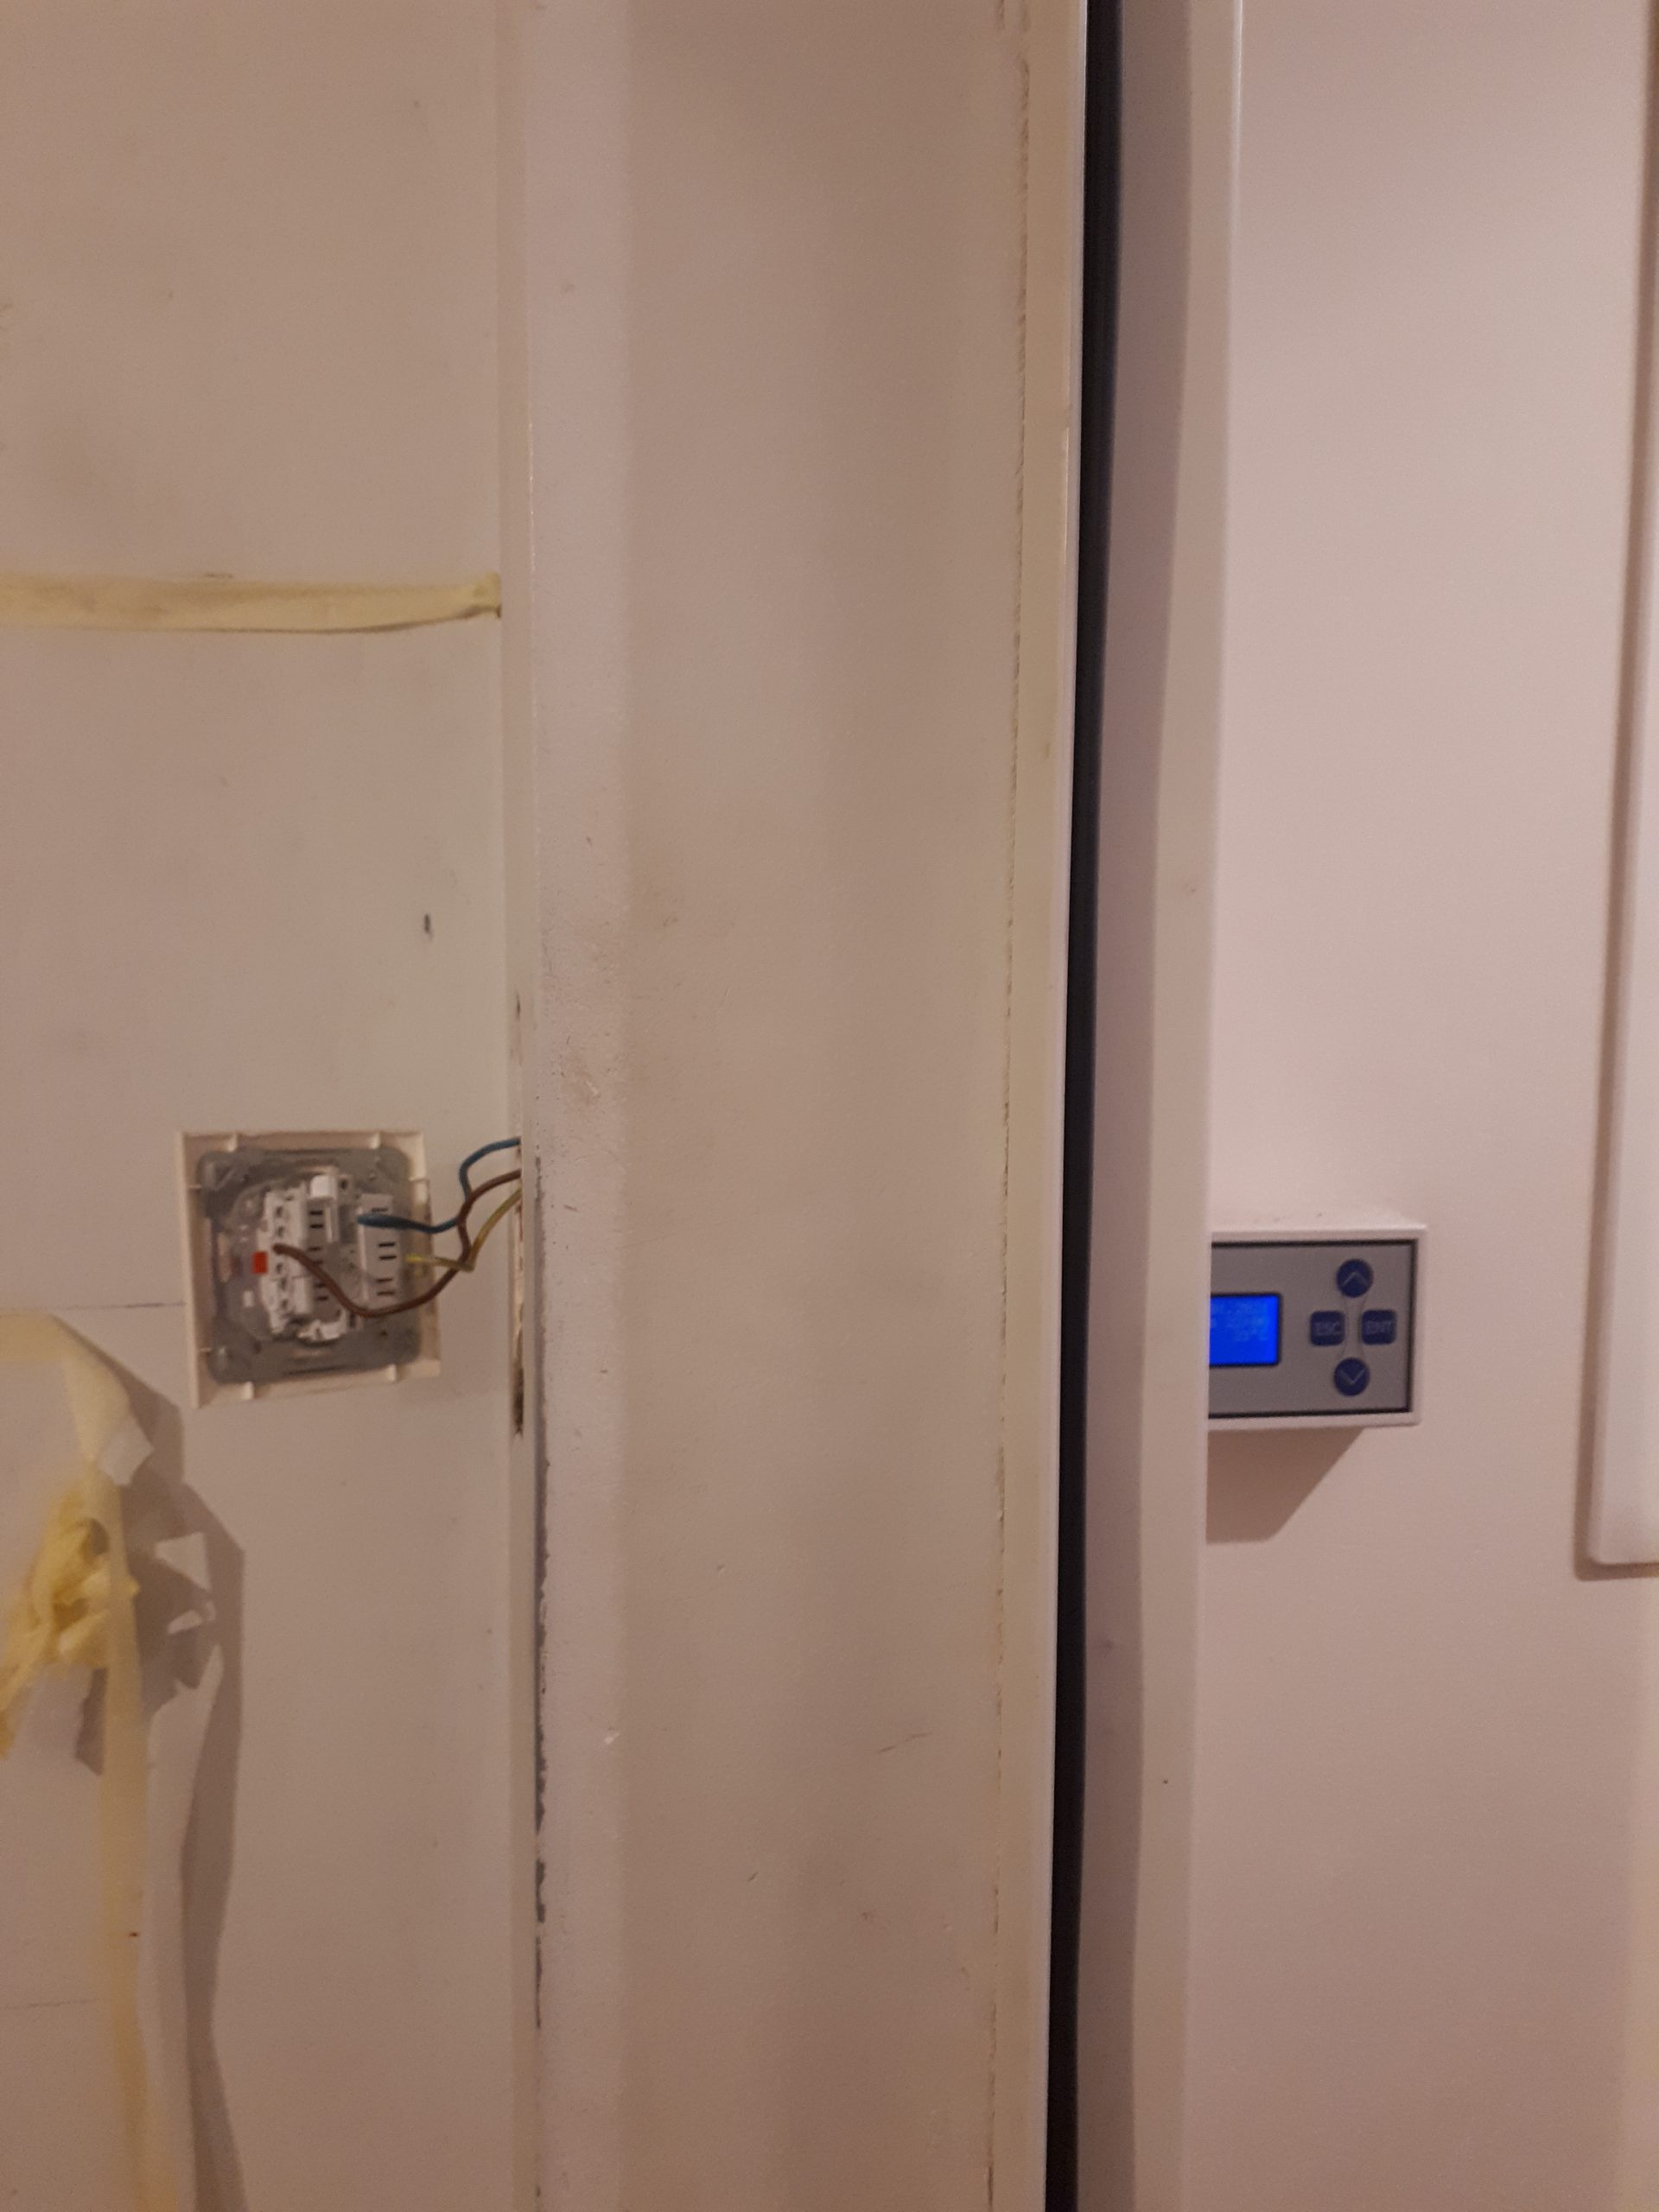
After finishing the rack, I had to relocate the wall switch, which was previously on the wall where the rack would stand making it impossible to reach.
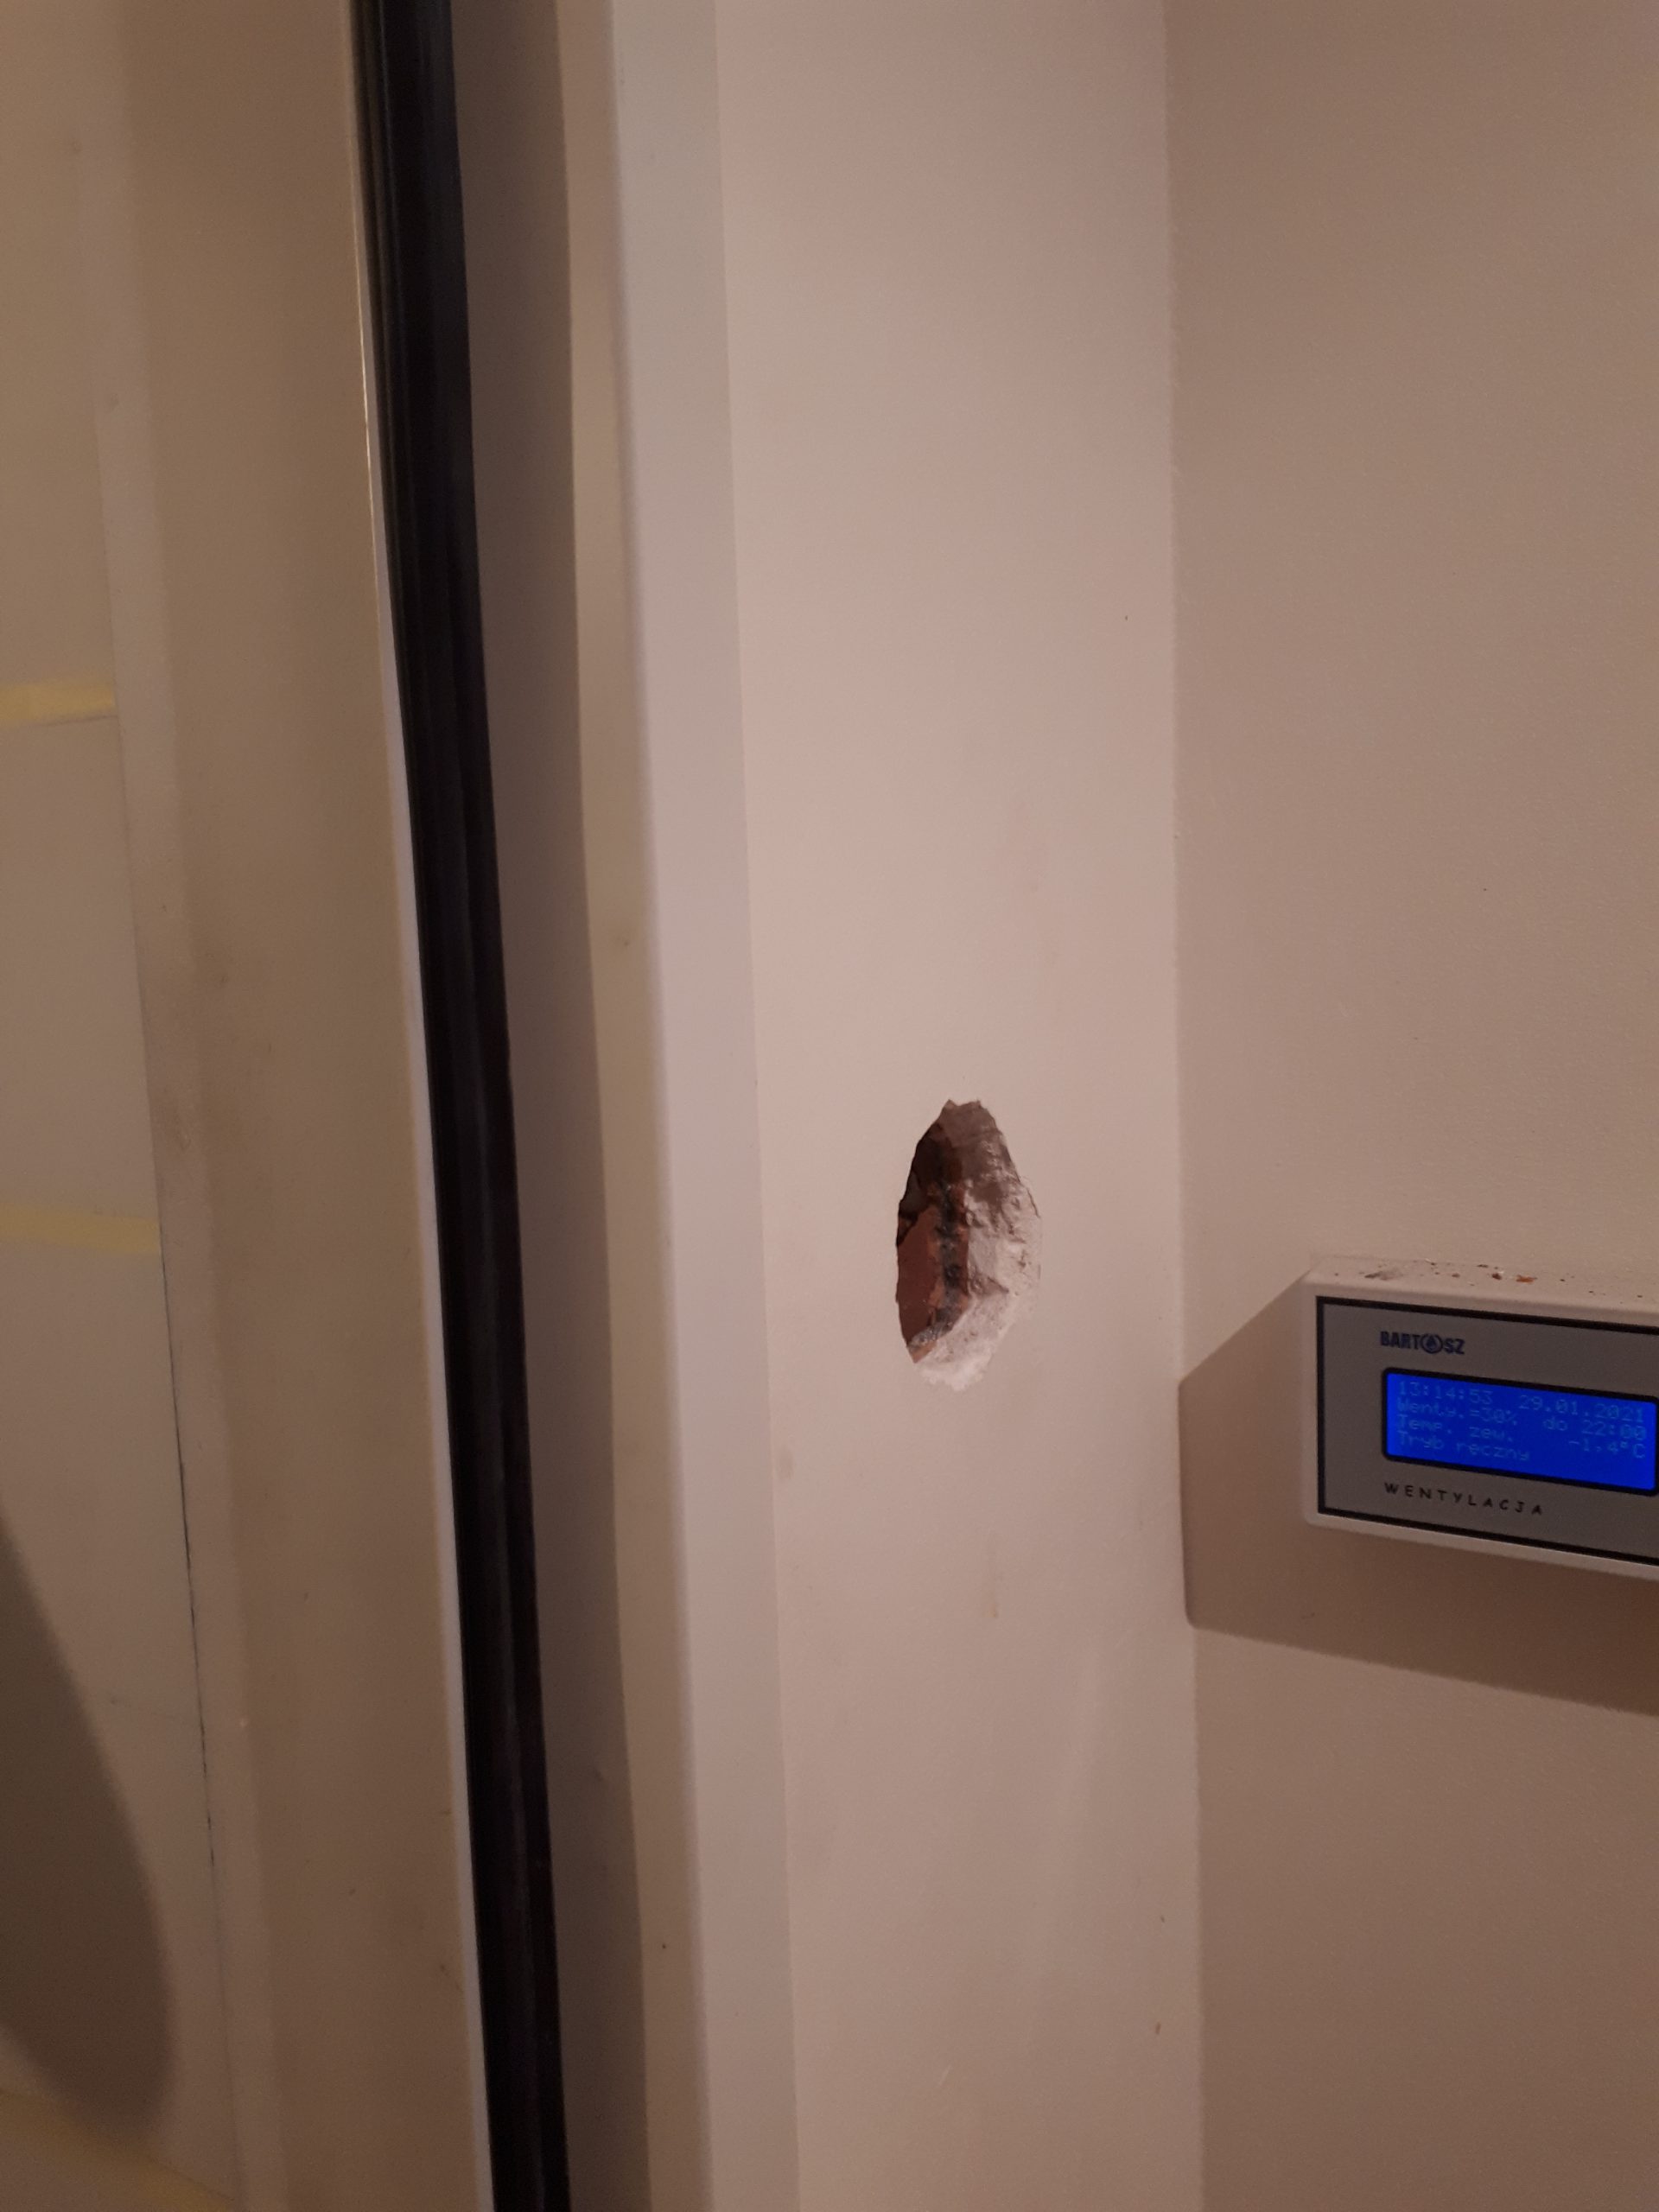
So I moved this switch to the opposite side of the wall, by drilling the hole through the wall to relocate the electrical cables. Then I make a bigger hole in the opposite wall to set a switch box. Lastly, I covered the old switch box with a plaster.
Gallery
To see technical drawings and blueprints of these and other my projects click this button: